My garage was filling up, and I had some space on “my” side of our small back yard. I did some investigation, and found that my city allows buildings with no utilities up to 120 square feet to be built without a permit. That pretty much filled the space I had to work with anyway. I knew I wanted a concrete floor, but I was worried about HOA height restrictions and I wanted as much interior space as possible, so I rented a Dingo skid steer and removed a few inches of dirt from where the pad was going to be poured.

Out here we have a type of soil called caliche, which is basically like rock. It was all this thing could do to dig it out, but it was way easier than trying to use a shovel.
After getting the dirt cleared out and hauled away, I formed up my pad, right at 10′ x 12′. I ran some string under the forms to make sure I didn’t have any high spots, and made sure everything was square and level.

I used some extra quarter-minus to fill in a few spots that were too low, and tamped it down well, then added a sheet of plastic and some #4 (1/2″) rebar. Rebar isn’t necessary, but it was a minimal additional cost and gives me peace of mind. The plastic is to prevent the dry dirt below from pulling the moisture from the concrete too quickly. We are ready to pour, with a ramp for the wheelbarrow. I didn’t add chairs for the rebar because the slab is small enough that we could pull it up during the pour, and I could run the wheelbarrow over it.

I knew I would have some extra concrete, so I wanted to fix another issue while I was doing the pour. We have a pad behind the house that holds the A/C condenser and space for our trash cans. The corners were being washed out and it didn’t really look too good.

I dug a one foot deep trench around the perimeter of this pad, and drilled some rebar dowels into this pad, and formed up a 6″ extension of the these two sides.

The rebar dowels will help hold the extension slab co-planer with the main slab, and the extra depth will help prevent it from being undercut.
I had never finished a slab like this before, and I needed less than two yards of concrete, which would have been an extra cost with a big truck. I found a local guy who did small batch work, and would do the finishing if I’d help haul the concrete – all for less than what just the ready mix truck would have cost.

This tow behind unit held 2 yards of concrete. He hauled the first few loads, then I brought the rest while he did the skill work. After the concrete guy left, I kept the slab damp for the rest of the day, then covered it with plastic so it could cure slowly over the next week or so.

After peeling off the forms, everything looked good, and ready for the next part of the build. I had some extra concrete, so I quickly formed up a place in front of the wall, about a foot wide. This gave me a nice storage area, that I figured I could find a use for later.

My shed was going to be a simple stick built box with a single pitch roof. We don’t have snow here, so I didn’t have to worry about that. I like to over build, so I went with 16″ centers on my 2×4 studs. For the bottom plate, I used pressure treated lumber with a layer of sill sealer between it and the concrete. The bottom plates are anchors to the slab with expansion bolts.

I didn’t get started until after lunch, but I was able to all 4 walls framed, and the 2×6 rafters set before dark. Everything was going great.

It was at this point that my wife reminded me about my concerns for HOA height restrictions, and the fact that the shed pretty much towered over the rest of the back yards. I probably could have gotten away with it as is, but I decided to take the cautious route. I removed the roof, snapped a chalk line with a new lower height, and after putting some additional blocking on the studs, I cut them all down about 18″. Then nailed the top plates back on, put the rafters back on, and continued on as if nothing had happened.
For siding, I used basic T1-11 Smartside panels. It looks nice, and is easy for a simple project like this.

Added the roof deck back on. You can see the boards I used to hold the studs in place when I cut them down.

For the roofing, I just used basic rolled asphalt, and added drip edges and trim on all the corners.

I wanted a nice wide door so I’d have no problems moving stuff in and out, so it was easiest to just make my own. I used some 8 quarter poplar to make a figure 8 of the appropriate size, and skinned it with 1/4″ plywood on both sides.

With all the major work done, it just needed a coat of paint to match the house.

The back wall seemed like wasted space, so I added a storage rack for yard tools.

With it being such a small shed, I figured I’d want additional wall space, so I added a pivot wall on one side. It is a standard 2×4 stud framed wall, that is anchored at the back on a 4×4 post that extends floor to ceiling, and has wheels on it to reduce the load on the hinges.
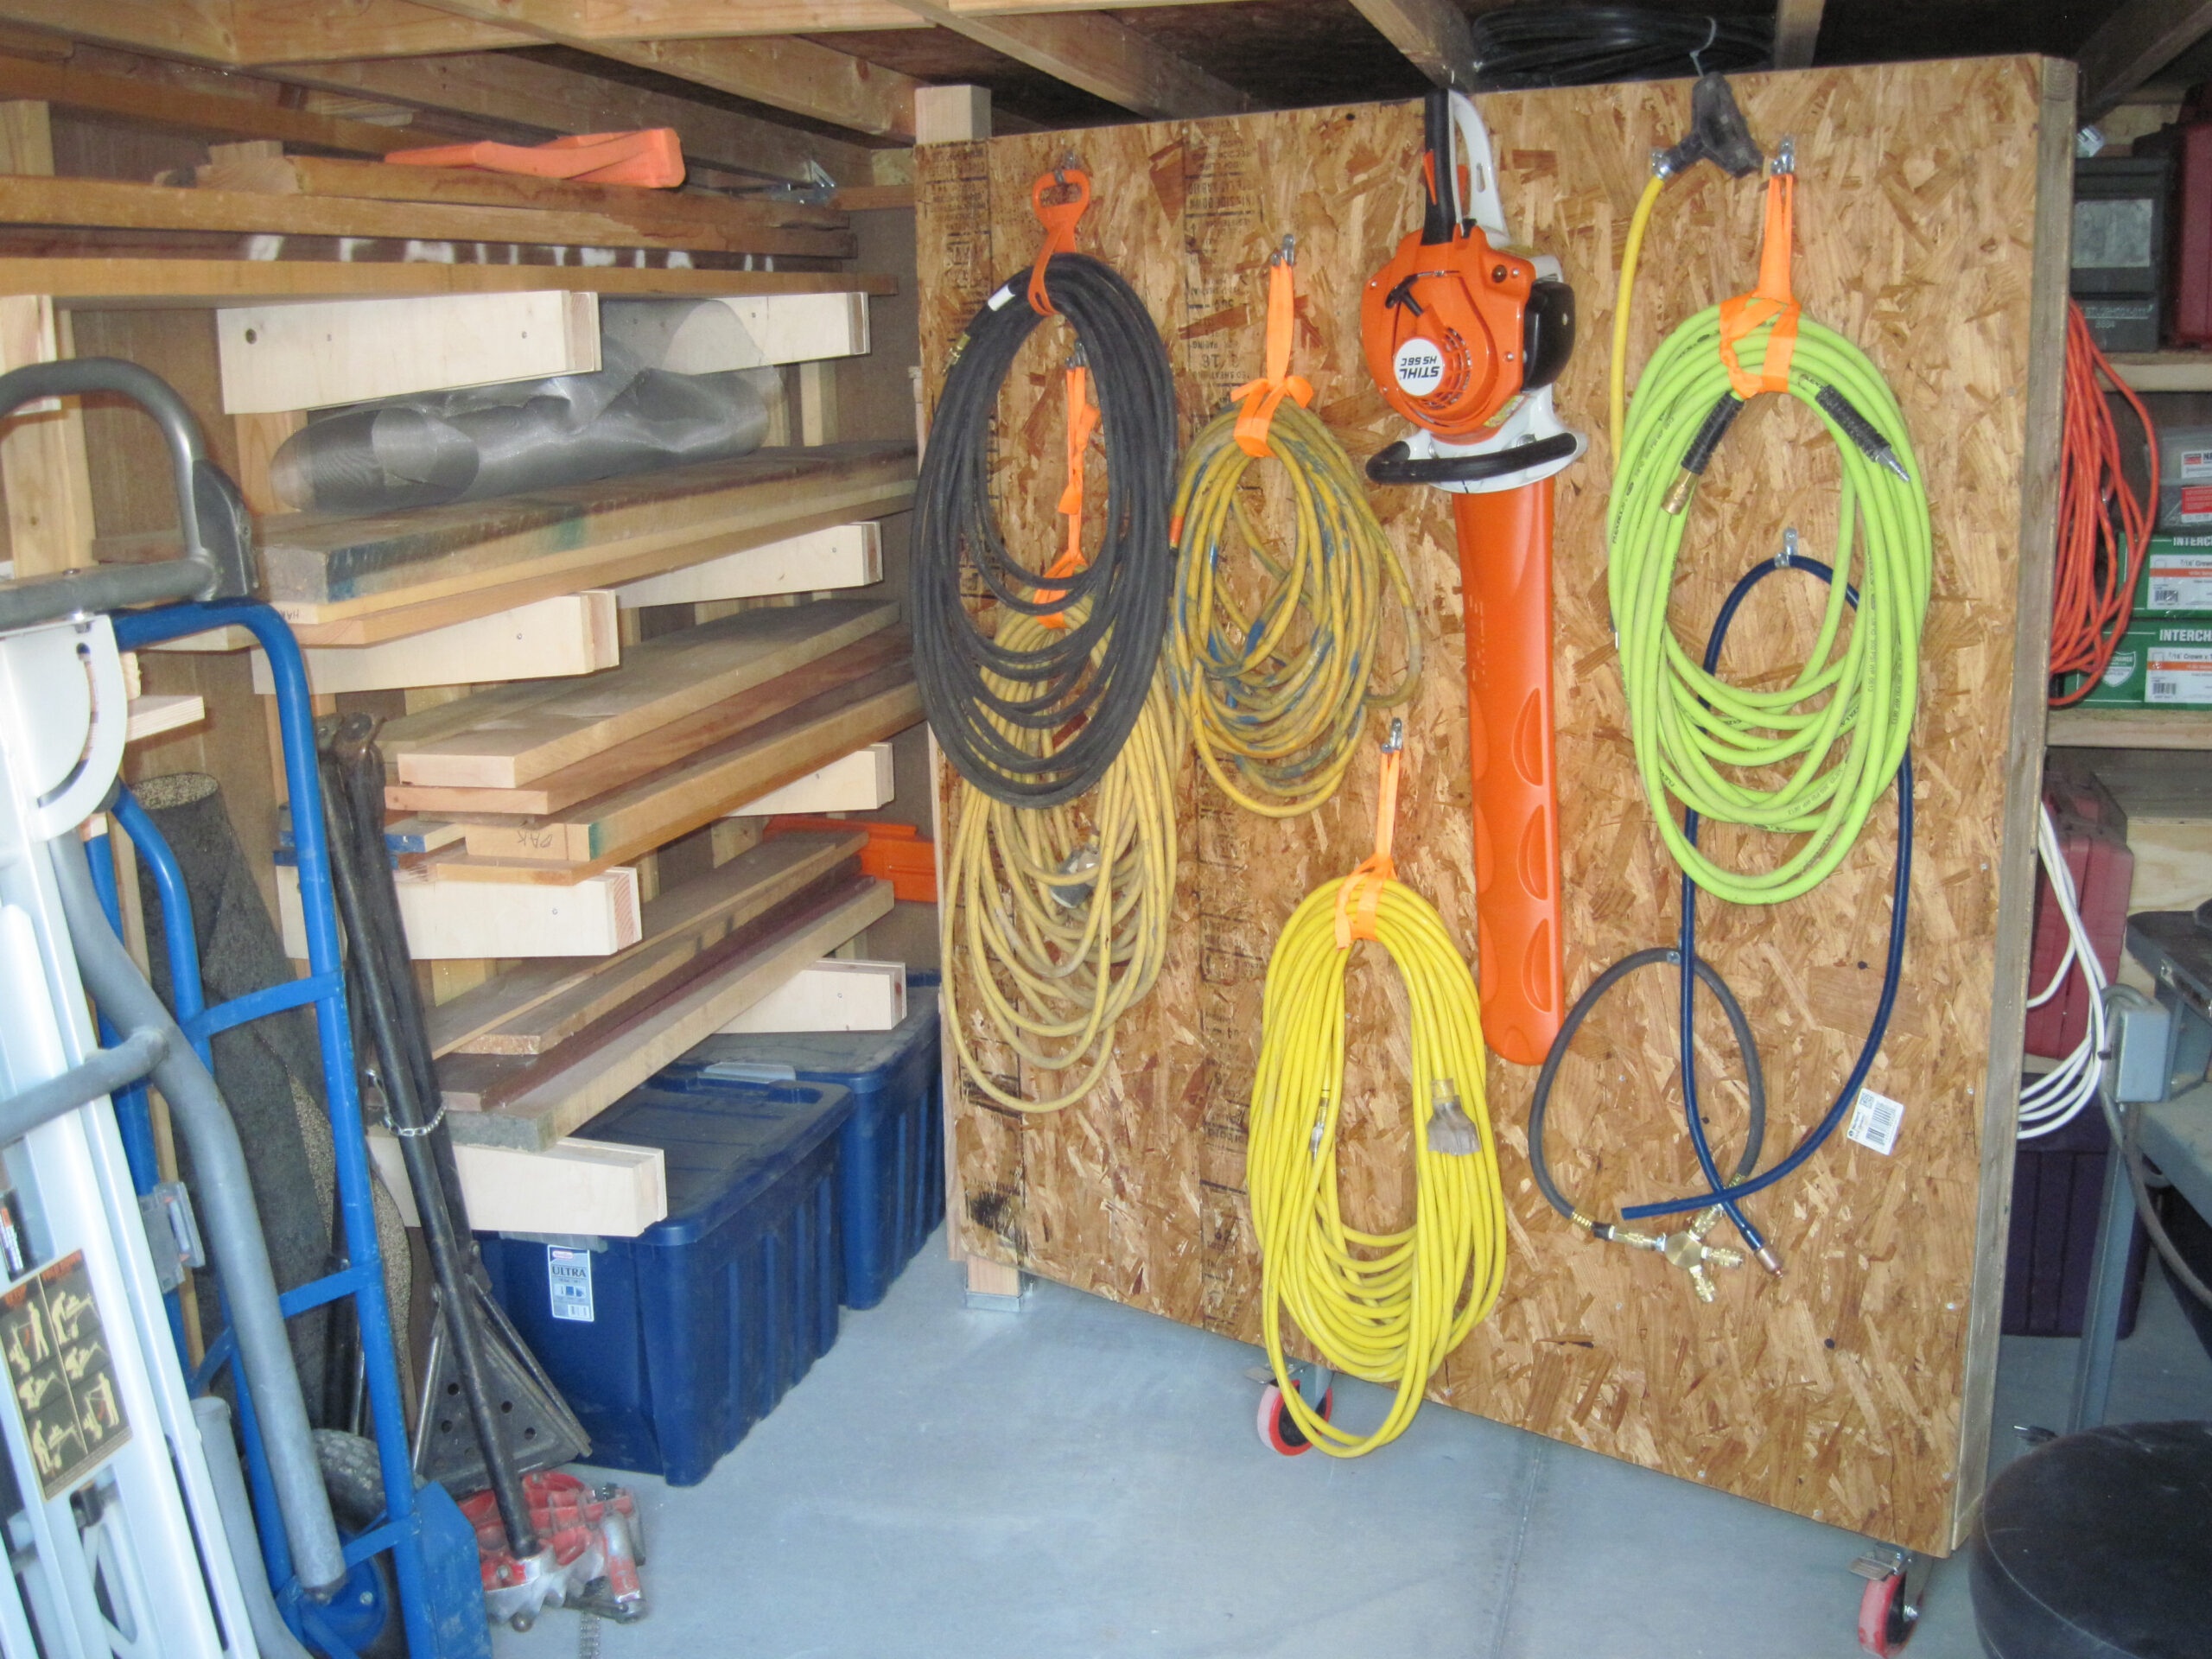
With the pivot wall closed, the heavy duty shelves on the back wall are accessible.

The other side had room for a small bench, and a light weight shelf.

I brought in a few tons of quarter-minus so the area outside the shed didn’t become a muddy mess during our infrequent rains.
My main regret was not adding a concrete ramp from the beginning. It would have made pulling heavy loads in much easier. Other than my issue with the height, everything went according to plan, and it ended up being about 3/4 the cost of a pre-built shed such as a ToughShed.
These days it is used as more of an overflow storage unit. It is still my biggest build around the house, and I am very happy to have it.