I have a small shed in my back yard that I used to store some of my less commonly used items. Among these are several toolboxes and small parts organizers. The parts organizers are what used to be sold at Home Depot as the Husky 22″ cantilever parts organizers (currently available from Northern Tool as Keter 22″ Organizer). The toolboxes are all Ridgid brand boxes from Home Depot.
Each of these stack well, but once you get several, it seems that the one you need is always on the bottom. I wanted some sort of shelving to store them. Basic wooden shelves would work, but I wanted them to be adjustable, and also to slide out, so I didn’t need to lift a heavy box just to get one item from it. After some thought, and playing around with designs in Sketchup, here is what I came up with.
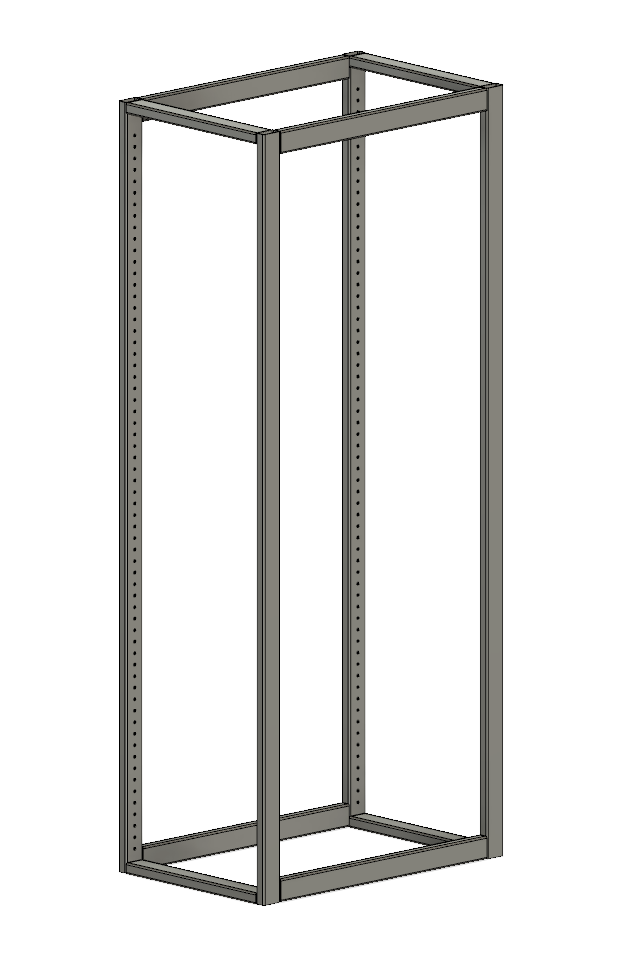
The frame is welded from 14ga 1″x2″ rectangular tubing. I used the jig I wrote about here to drill the holes in each vertical piece. When I had the jig made, I had planned on running 8-32 machine screws completely through each piece, so I had the jig made with 1/8″ drill bushings. During the build, I decided to use Rivnuts instead of through holes, so I used my drill press to widen each hole to the appropriate size and installed Rivnuts where needed. I didn’t get any photos during the actual weld up, but it did take a ton of clamps and angle jigs to get everything true and square.
The interior dimensions of each drawer needed to be 13 3/4″ x 22″. This would allow either the Ridgid or Husky boxes to fit with little wasted space. I originally planned to just bend each drawer from a single piece of 20 gauge steel, but after trying one, it was apparent that my sheet metal skills were not up to the task.
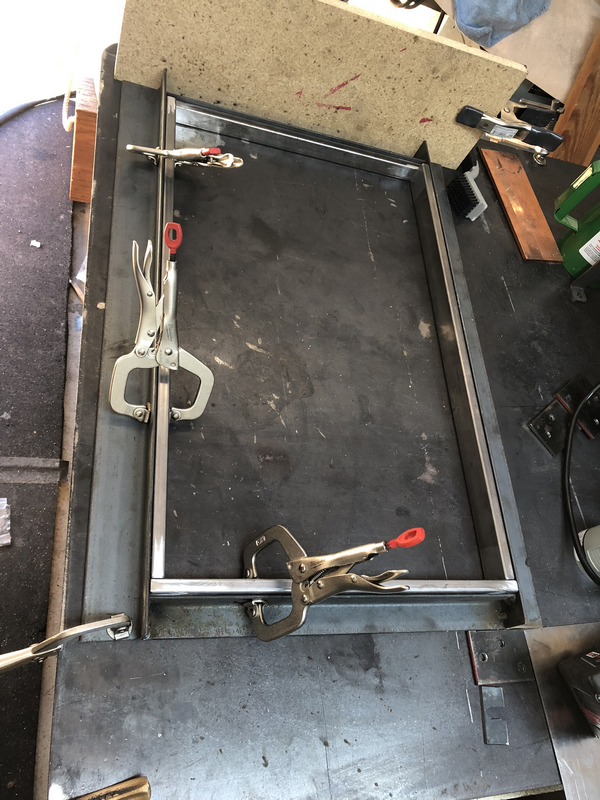
I decided to use 1/2″ wide rectangular tubing to make the sides. I made a jig from some angle iron so I could be sure they were all identical, and then welded up a bunch of frames.

Once the frames were welded, I used my shear to cut some 18 ga steel into 14 3/4″ wide strips, then punched a series of holes around the perimeter so I could plug weld the bottom to the frame.
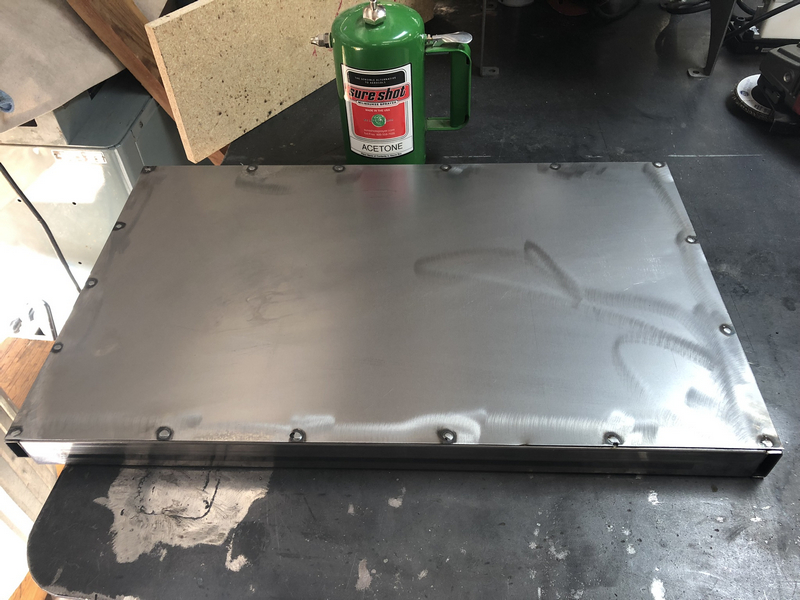
After welding, smoothing with a flap disc, and cleaning with Acetone, they were ready for prime and paint.
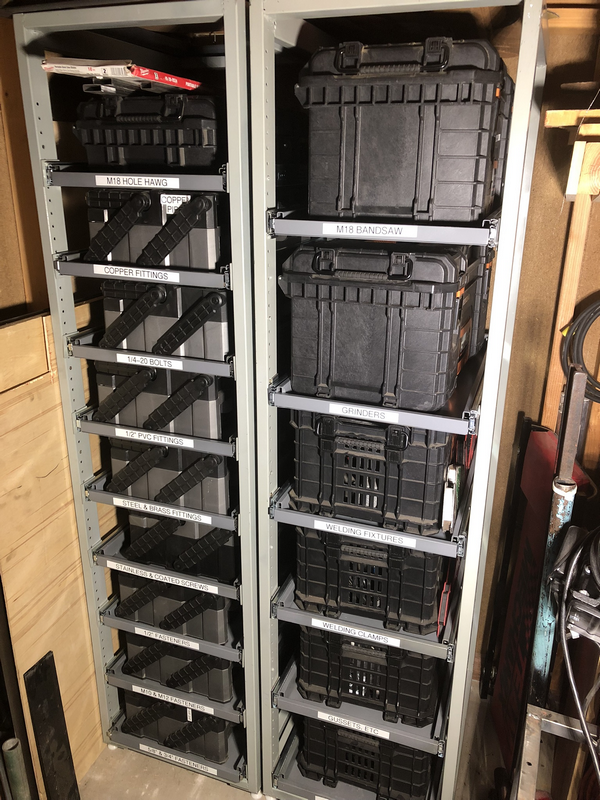
Here are the two completed units. The Rivnuts didn’t allow the drawer slides to fit flush, so I cut some 2″ square pieces of 1/8″ steel with 3/8″ holes drilled in the middle to act as a washer/spacer. Each drawer has a 100 pound, full extension slide. I was originally worried that the slides might not work well with no support in the middle, so if that does become an issue in the future, I can replace the spacers with a full length bar.
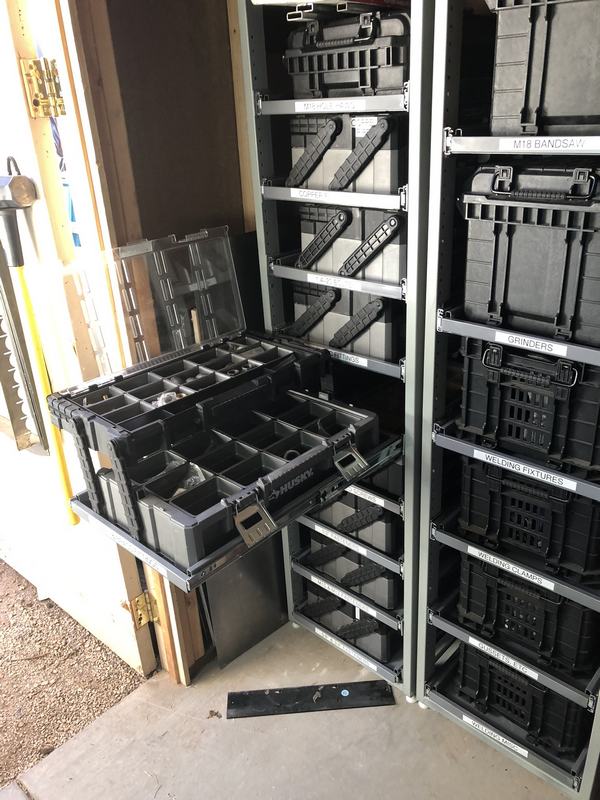
I am quite pleased with how well this all works. It is easy to get to everything, and I have already twice adjusted the drawer heights to accommodate a different configuration.
Lee