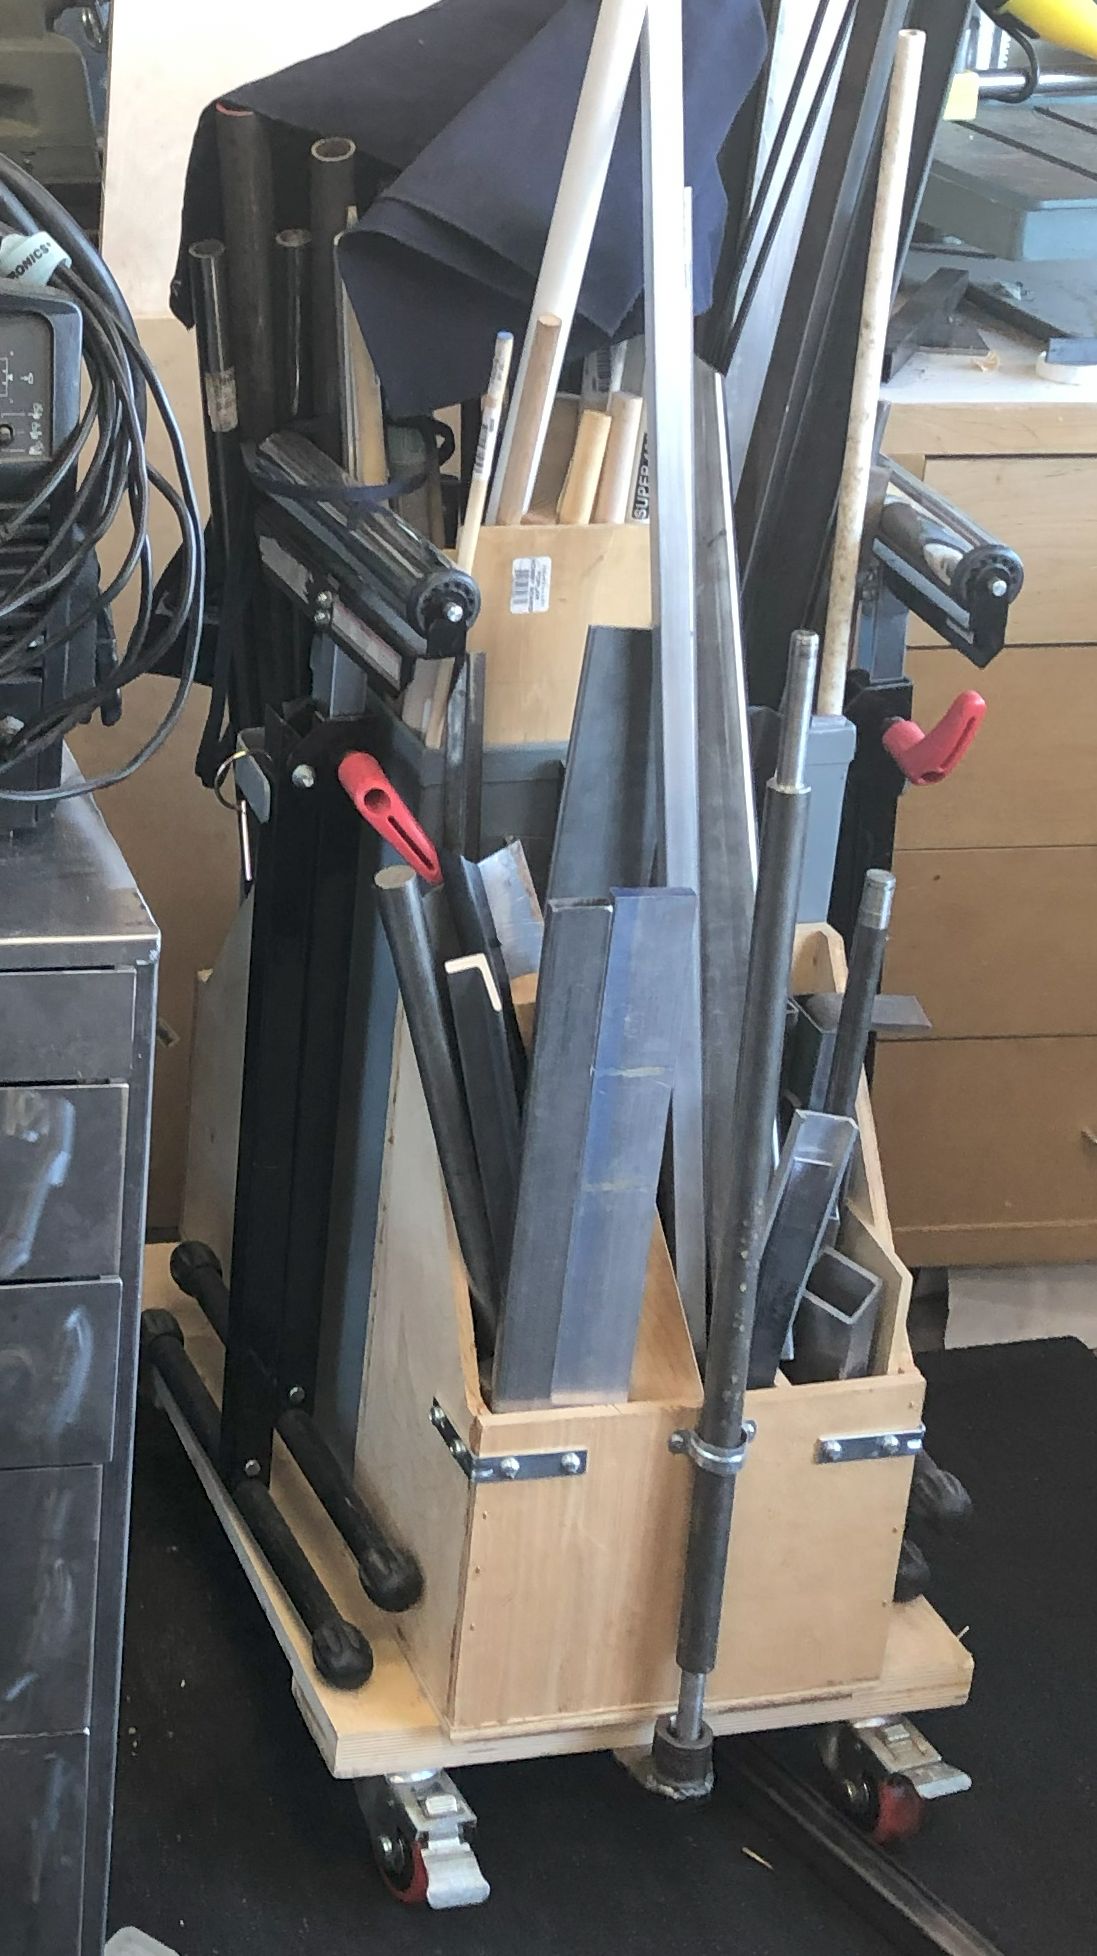
My cutoff storage bin was getting overloaded. When I built it, I was mostly doing woodworking and it was adequate for the job. As time went on and I was doing more welding and machining, the off cuts has gotten bigger and heavier, and it was straining at the seams – literally.
I had also acquired a Kennedy machinist tool chest, a Craftsman mid chest, and a Harbor Freight 500lb lift cart, all of which needed a home. My requirements were:
- Space under for the lift cart
- Compartments for cutoffs so they weren’t all in one large bin
- A shelf for my toolboxes
- Space for smaller sheet goods
- Space for storing welding clamps
- Had to be on wheels
I fired up Fusion 360 and after quite a few iterations, I came up with a workable design.
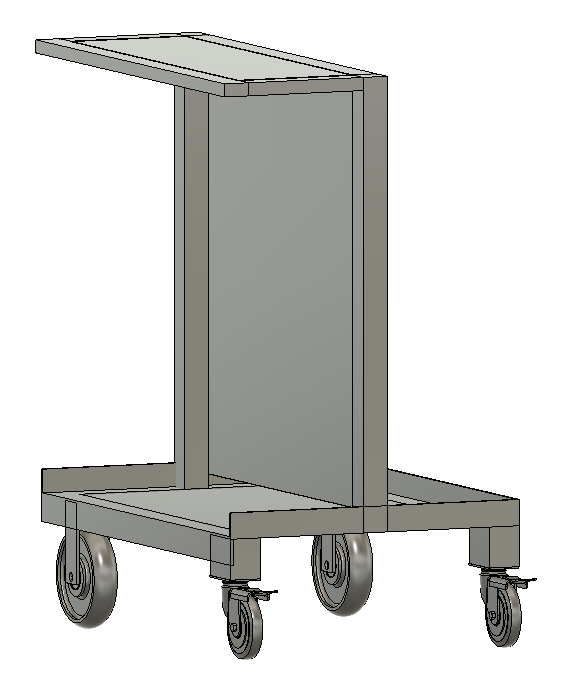
The base frame is 1/4″ x 2″ angle and the uprights are 12ga 2″x2″ steel tubing. The shelf is 12ga 1″x2″ tubing with a 16ga top. The uprights are skinned with a piece of 20ga. The casters are bolt on, but everything else is welded solid.
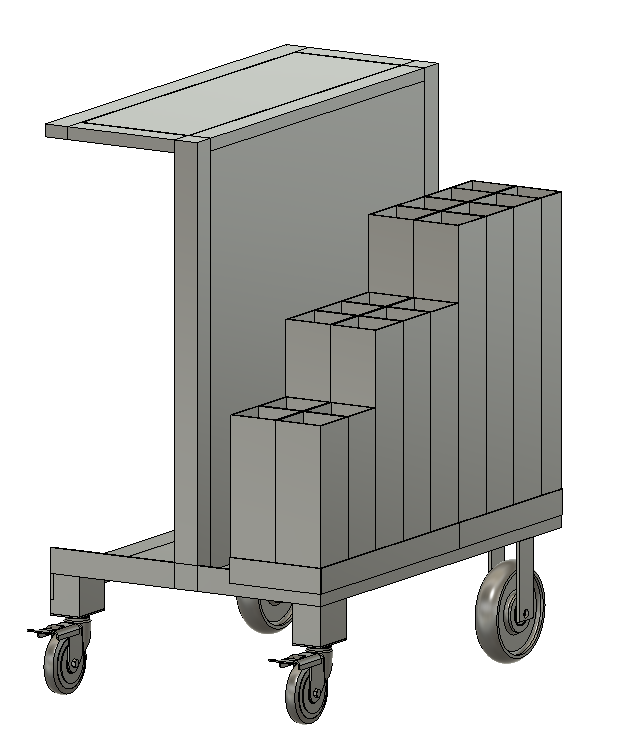
For the material side, I lucked into several pieces of 14ga 4″x4″ tubing in the bargain bin at my metal supplier. I cut it into eight 24″ pieces, six 18″ pieces, and four 12″ pieces. I welded the 24″ pieces together as a single assembly, and the remaining pieces as another. I then bolted these assemblies to the cart. I wanted to keep the sizes manageable in case I decide to paint or powder coat it in the future.
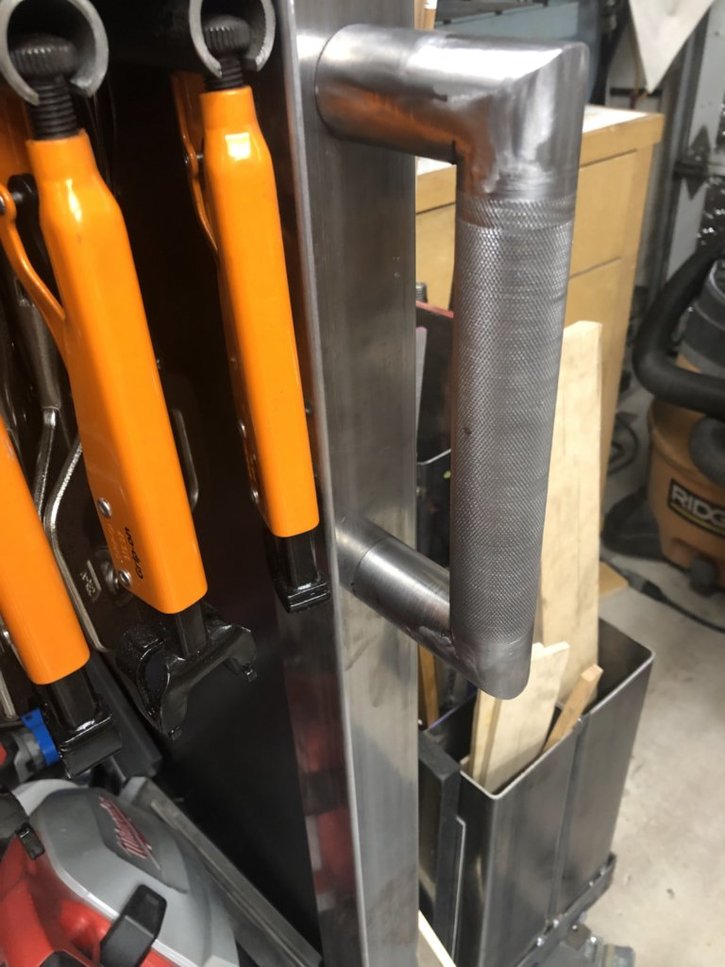
My primary welding clamps are the Breman clamps from Harbor Freight. I have picked up quite a lot of them over the years. The locking screw on them just fits inside a piece of .120 wall 1″ tubing, so I cut a slot in some 12″ pieces of tubing, and made up some hangers.
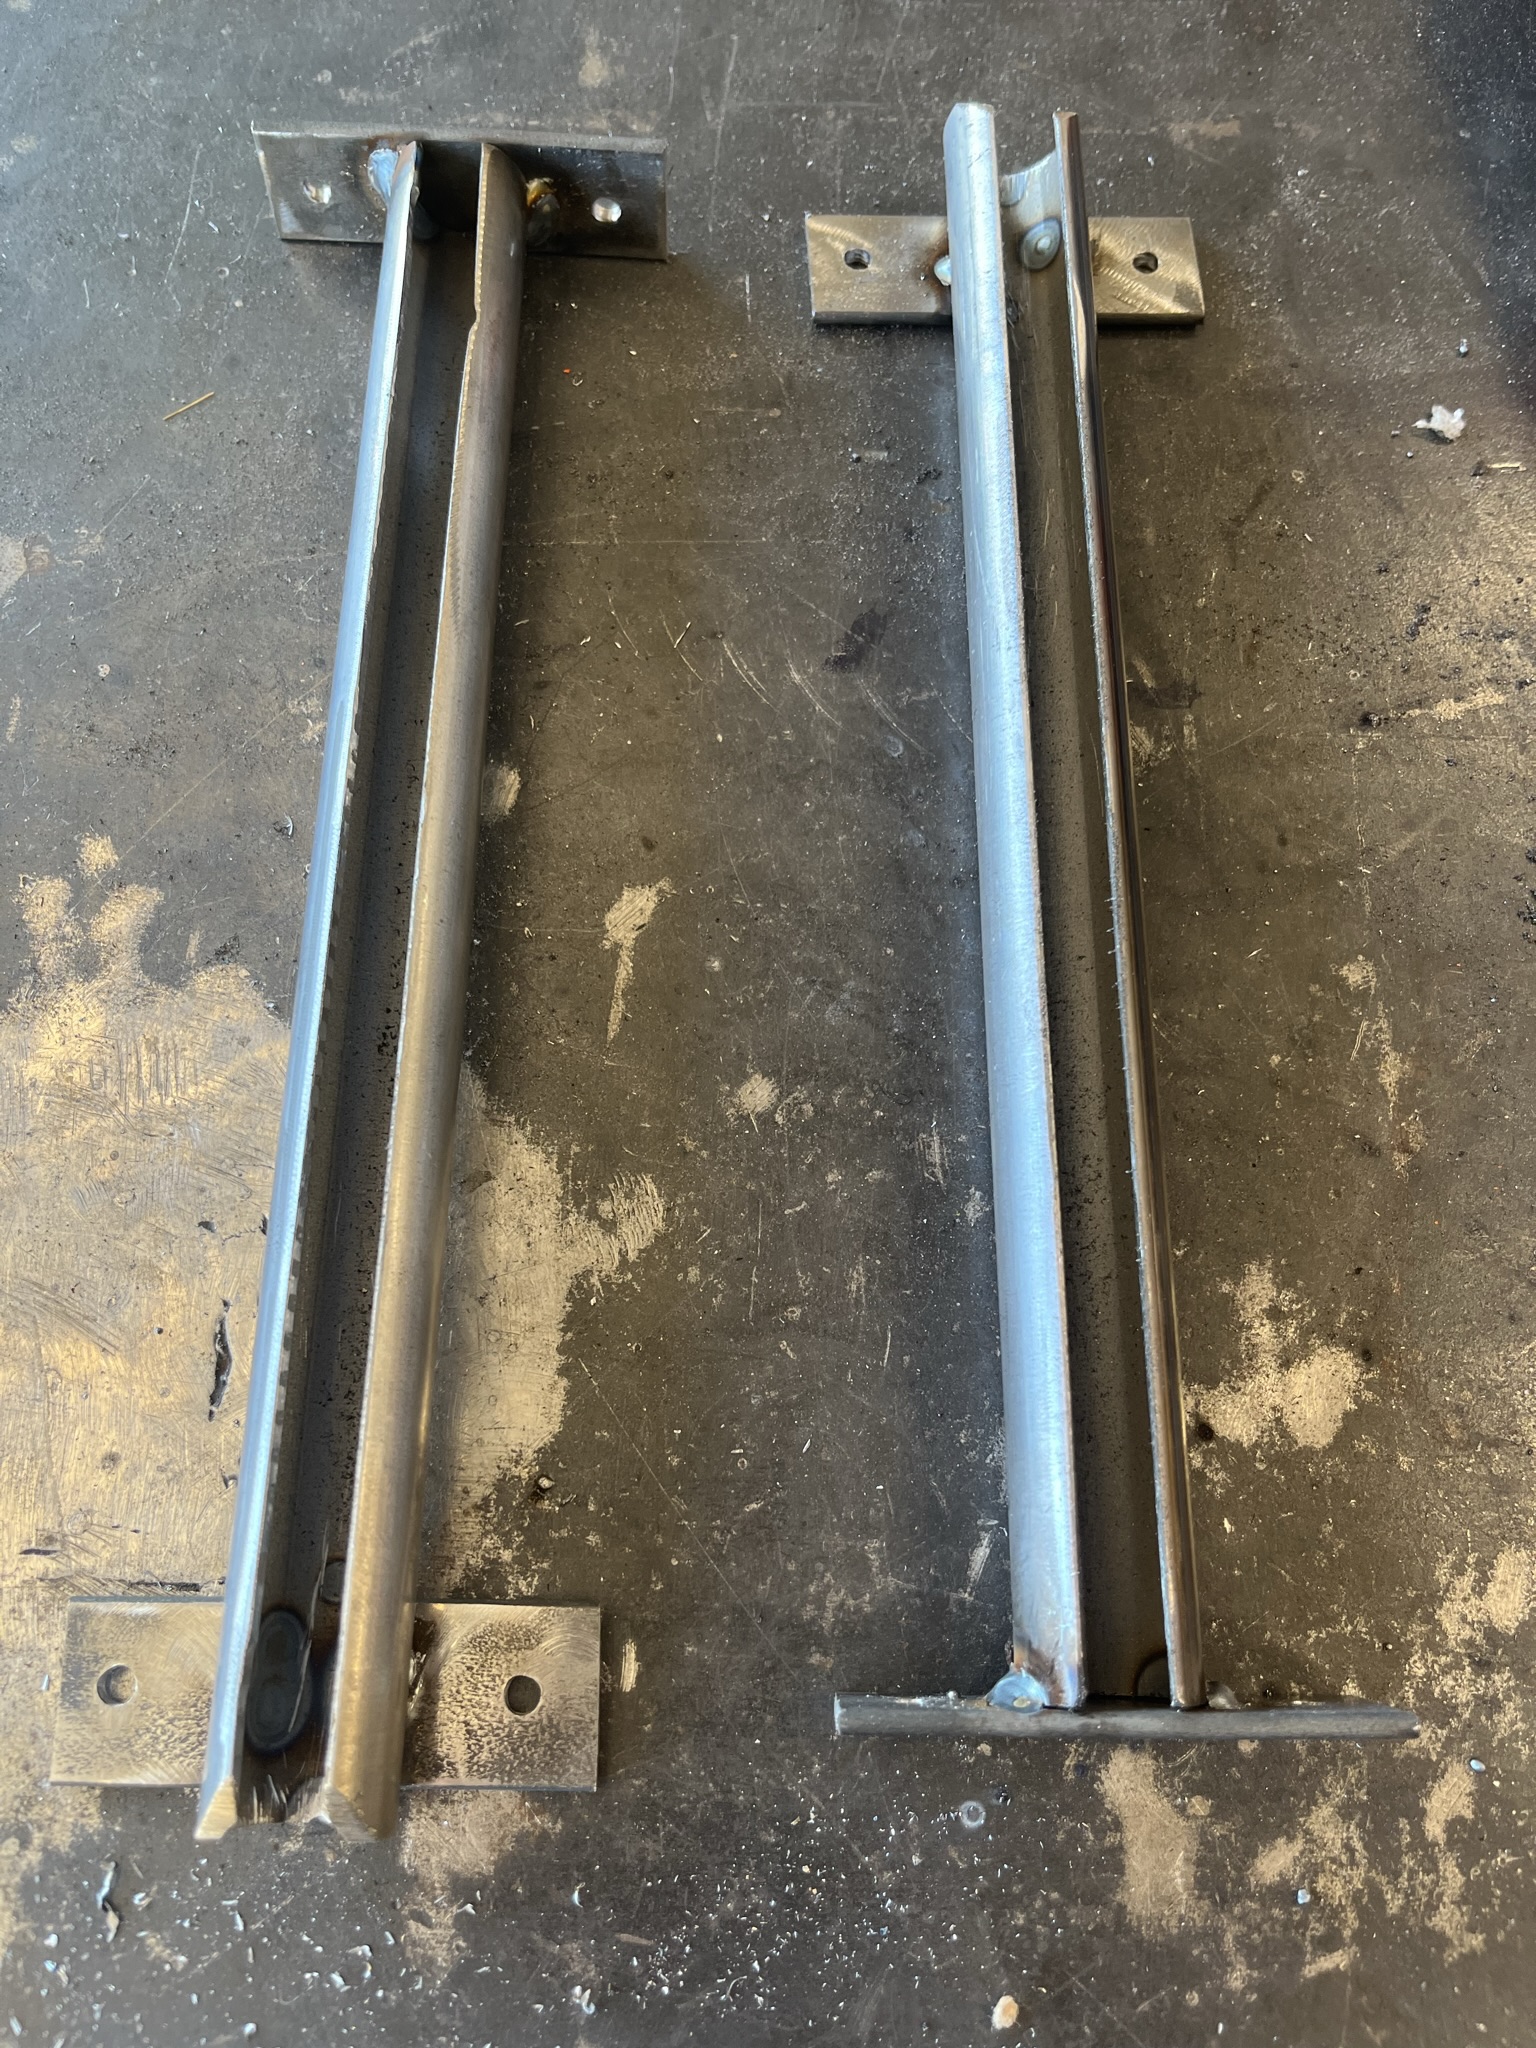
I built several of these and screwed them to the bottom of the cantilever shelf. It made a great way to store these clamps.

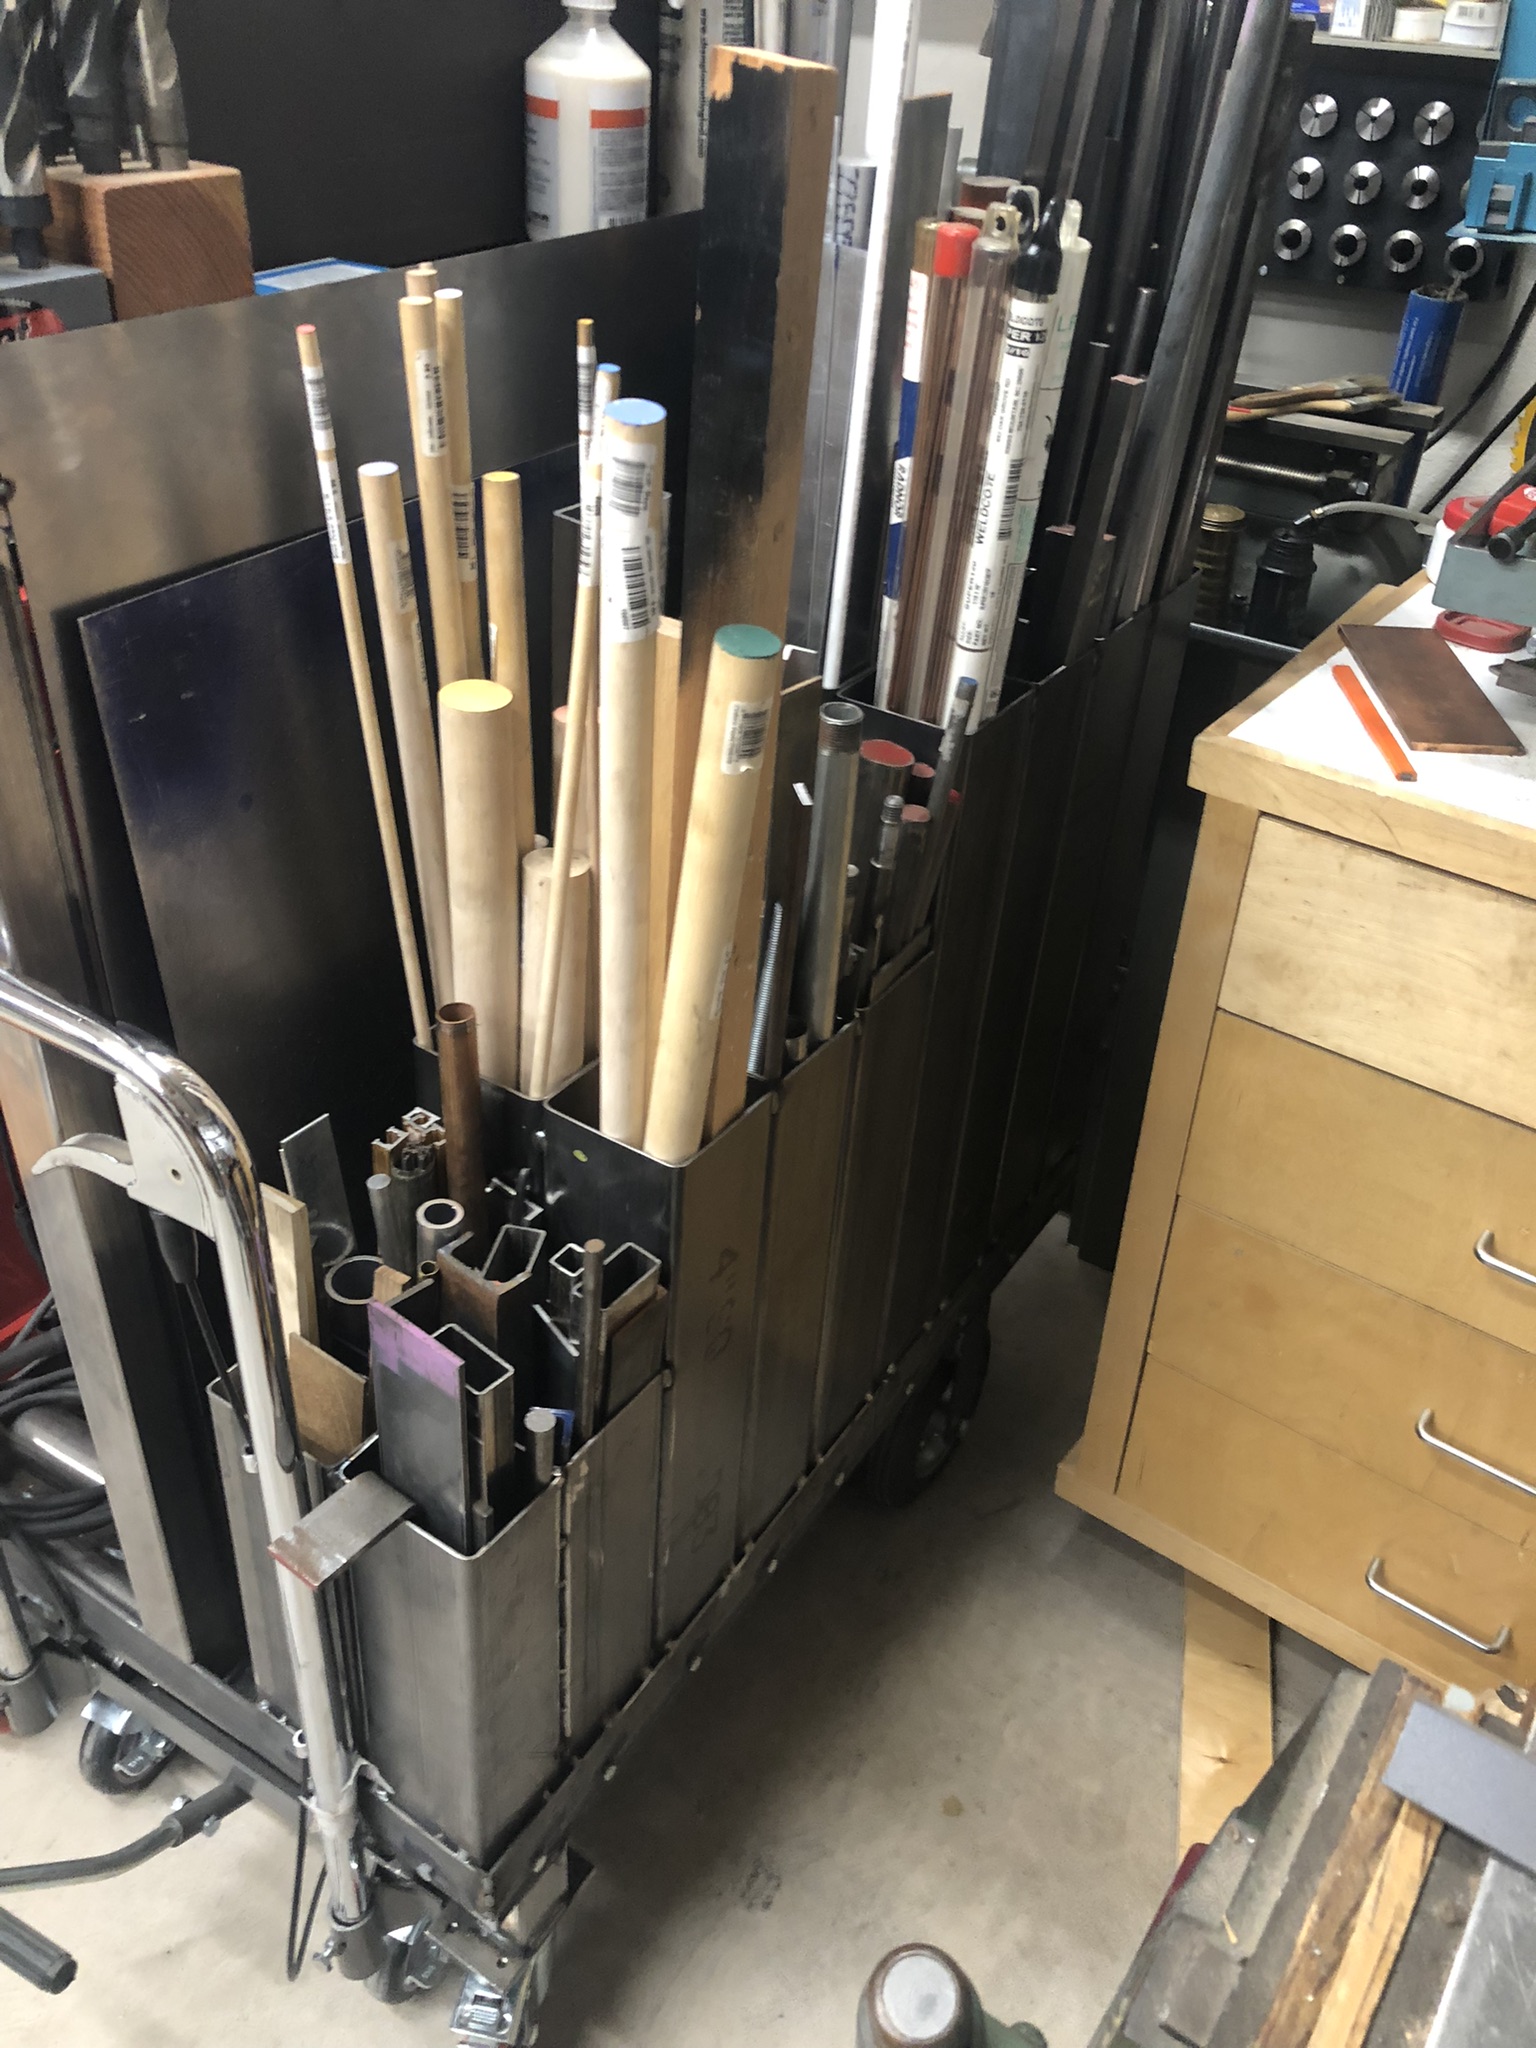
Here is the cart loaded with materials, with the Kennedy box on top and the lift cart stored under it.
After using it for a few weeks, I decided that it needed a handle. I knurled a piece of steel tubing, mitered the ends, and welded it back together to form a handle. There is a nut welded to the inside allowing it to be bolted to the cart.
After using this a few months, I had to upgrade the wheels. Originally I had gone cheap on them, reusing some I already had. They worked great when the cart was empty, but as it got loaded up, they started to deform and became hard to roll. I replaced them with solid steel wheels in front and some 1,000lb rated wheels in the back.