I have been a fan of Tanos/Festool Systainers for many years. I bought them to organize my shop tools a few years before I purchased any Festool tools. They are great for many things, but they are not weather-resistant, and not really durable enough to be bouncing around in the bed of a pickup. So I went looking for something to fill that role for me. At the time, Milwaukee had just announced their Packout series of boxes, but there really weren’t any available locally, so I ended up with the Ridgid Toolbox system from Home Depot. They only had a few sizes, but they were relatively inexpensive and durable. So I bought several. They didn’t replace my Systainers, but I used them for less commonly used tools, and for larger parts that were too big for my Allit containers.
My shop is pretty full, so I am always looking to move things that I don’t use regularly out of it. These toolboxes seemed like a perfect candidate for outdoor storage – they didn’t contain “every day” items, and boxes are waterproof, and they stack well. That worked well, except I got tired of always having to unstack them to get to the box I wanted.
I built a pair of steel frames out of 16g 1×2 and 1×1 steel tubing, sized so that the interior would hold the footprint of the Ridgid box. They are about 60″ tall. I used my Exact Spacing Jig to give me evenly spaced holes in which I could mount some brackets based on the sizes of the specific boxes being stored in them. I made the brackets from some 12″ wide, 16 gauge sheet metal that I sheared to size and bent into an L.
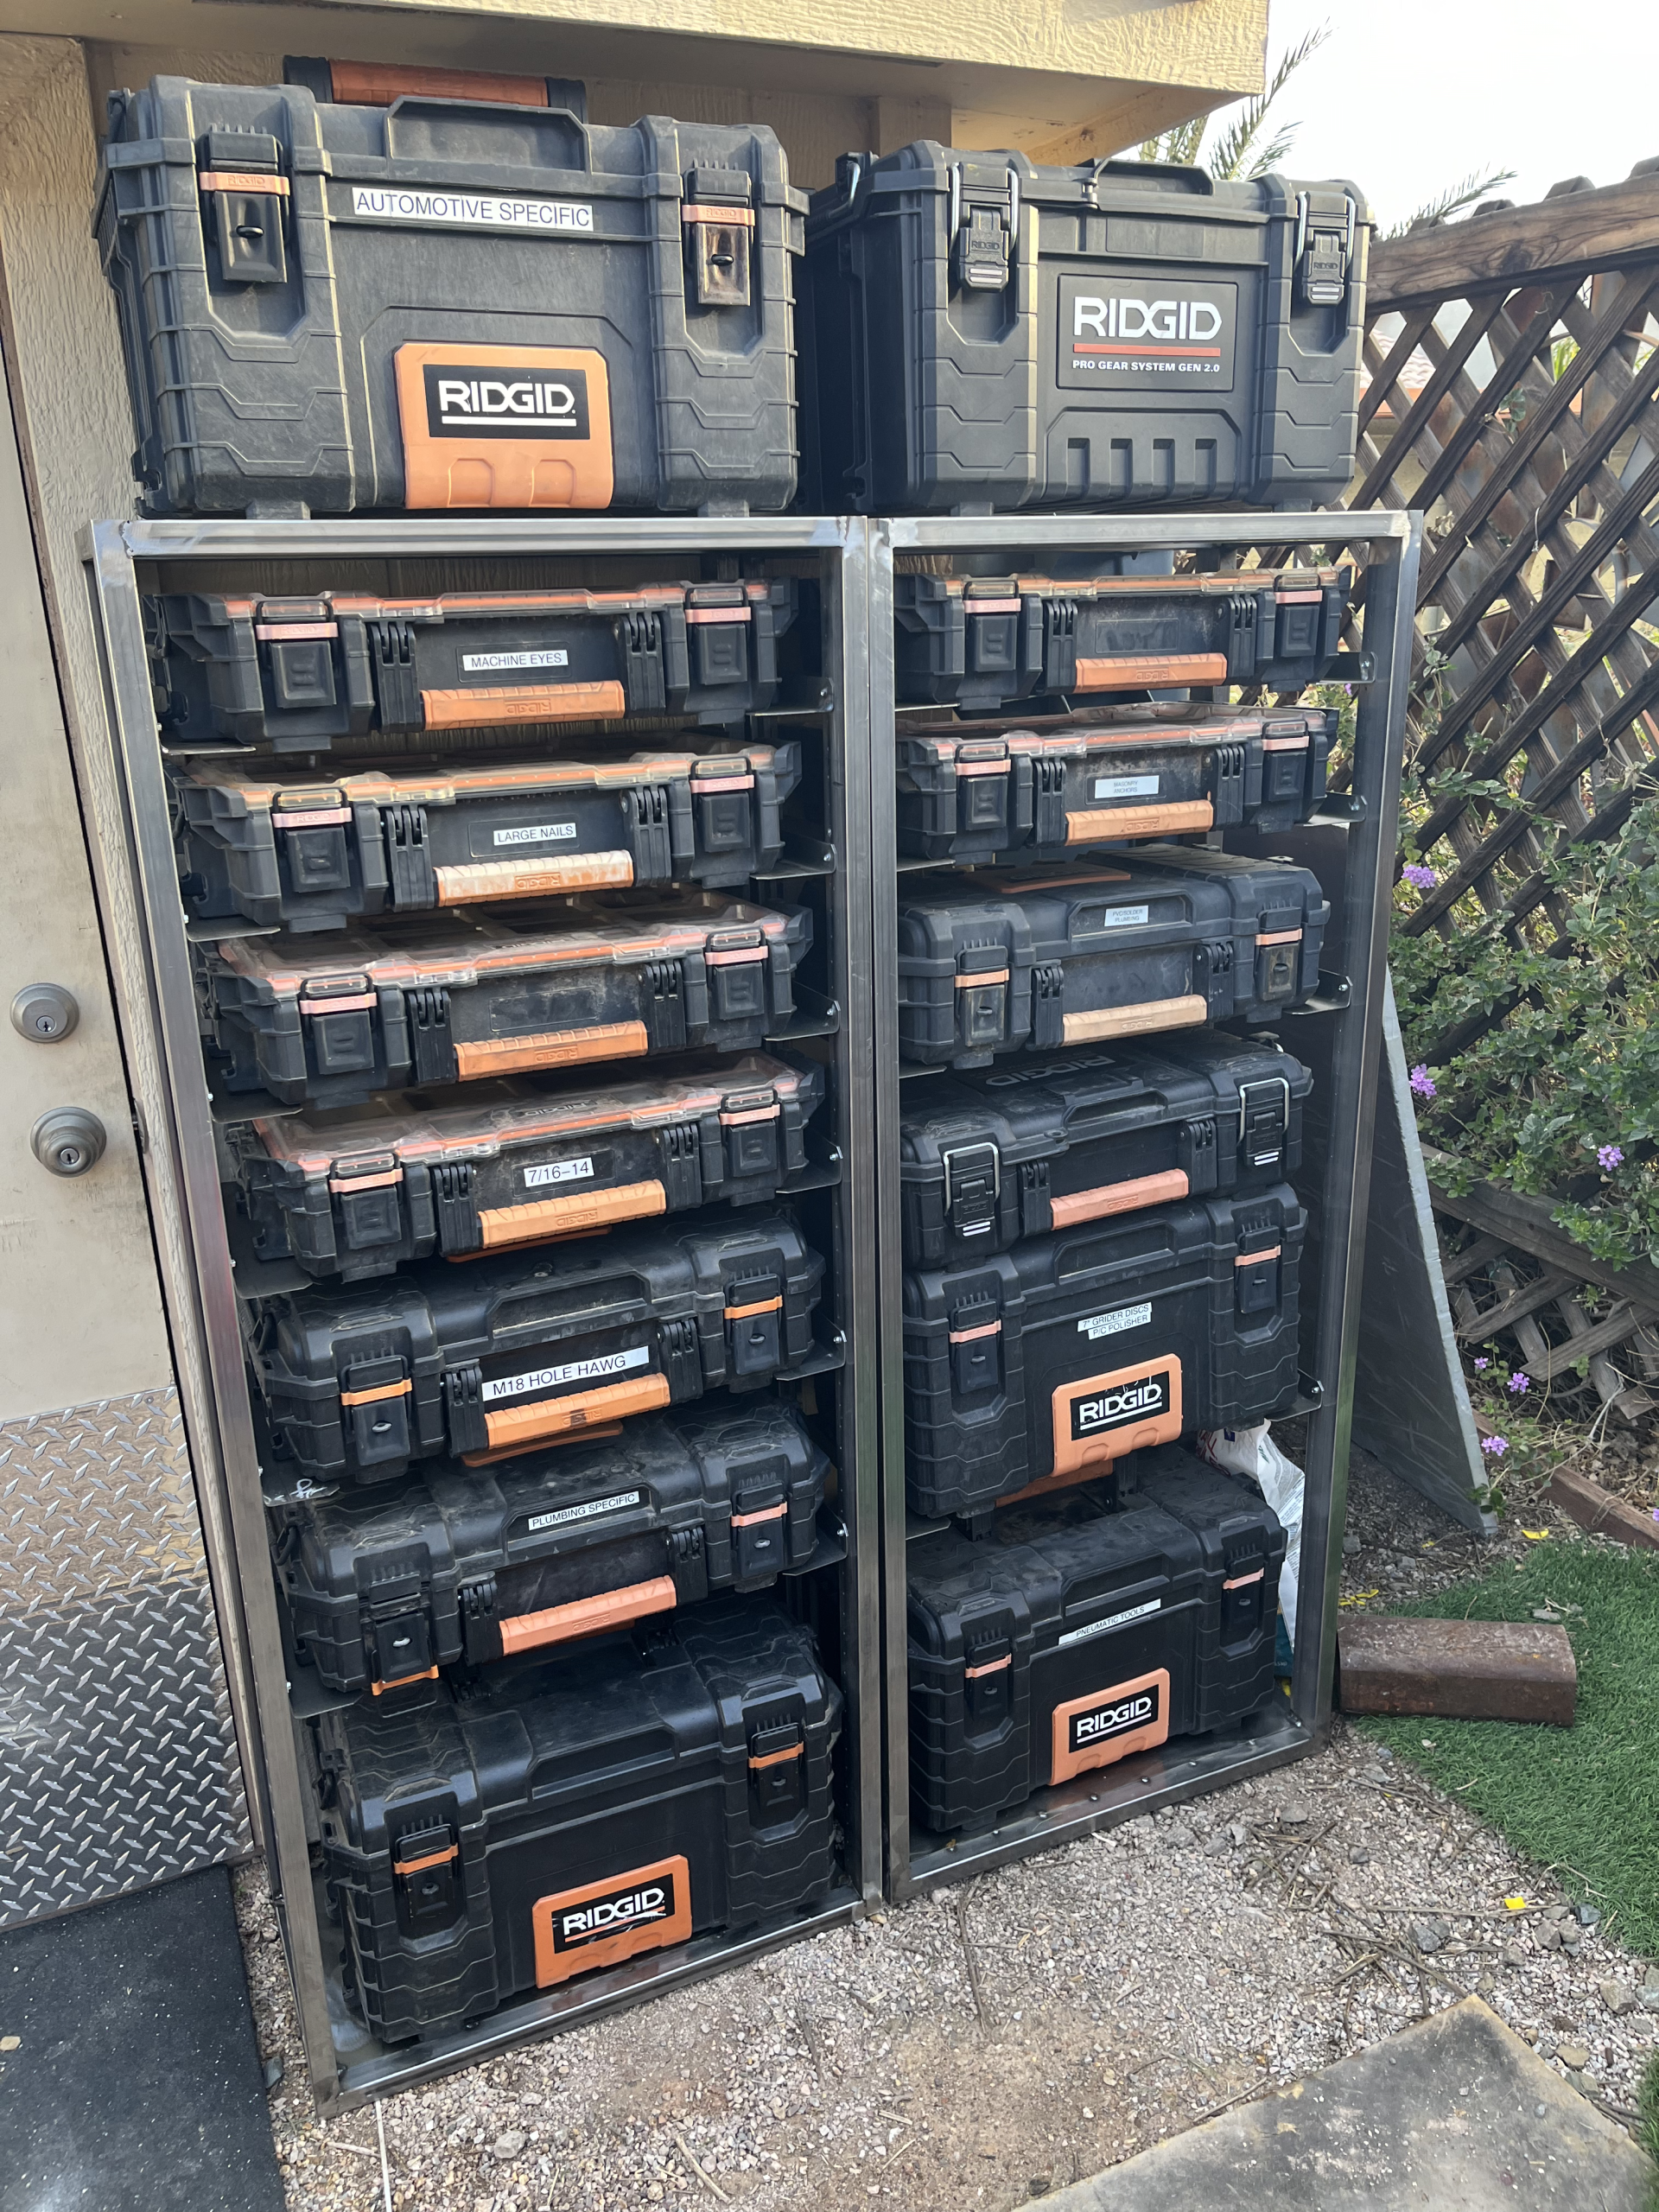
I had planned to enclose the sides and top and put doors on them, but life got in the way, and they sat like this for a few years.
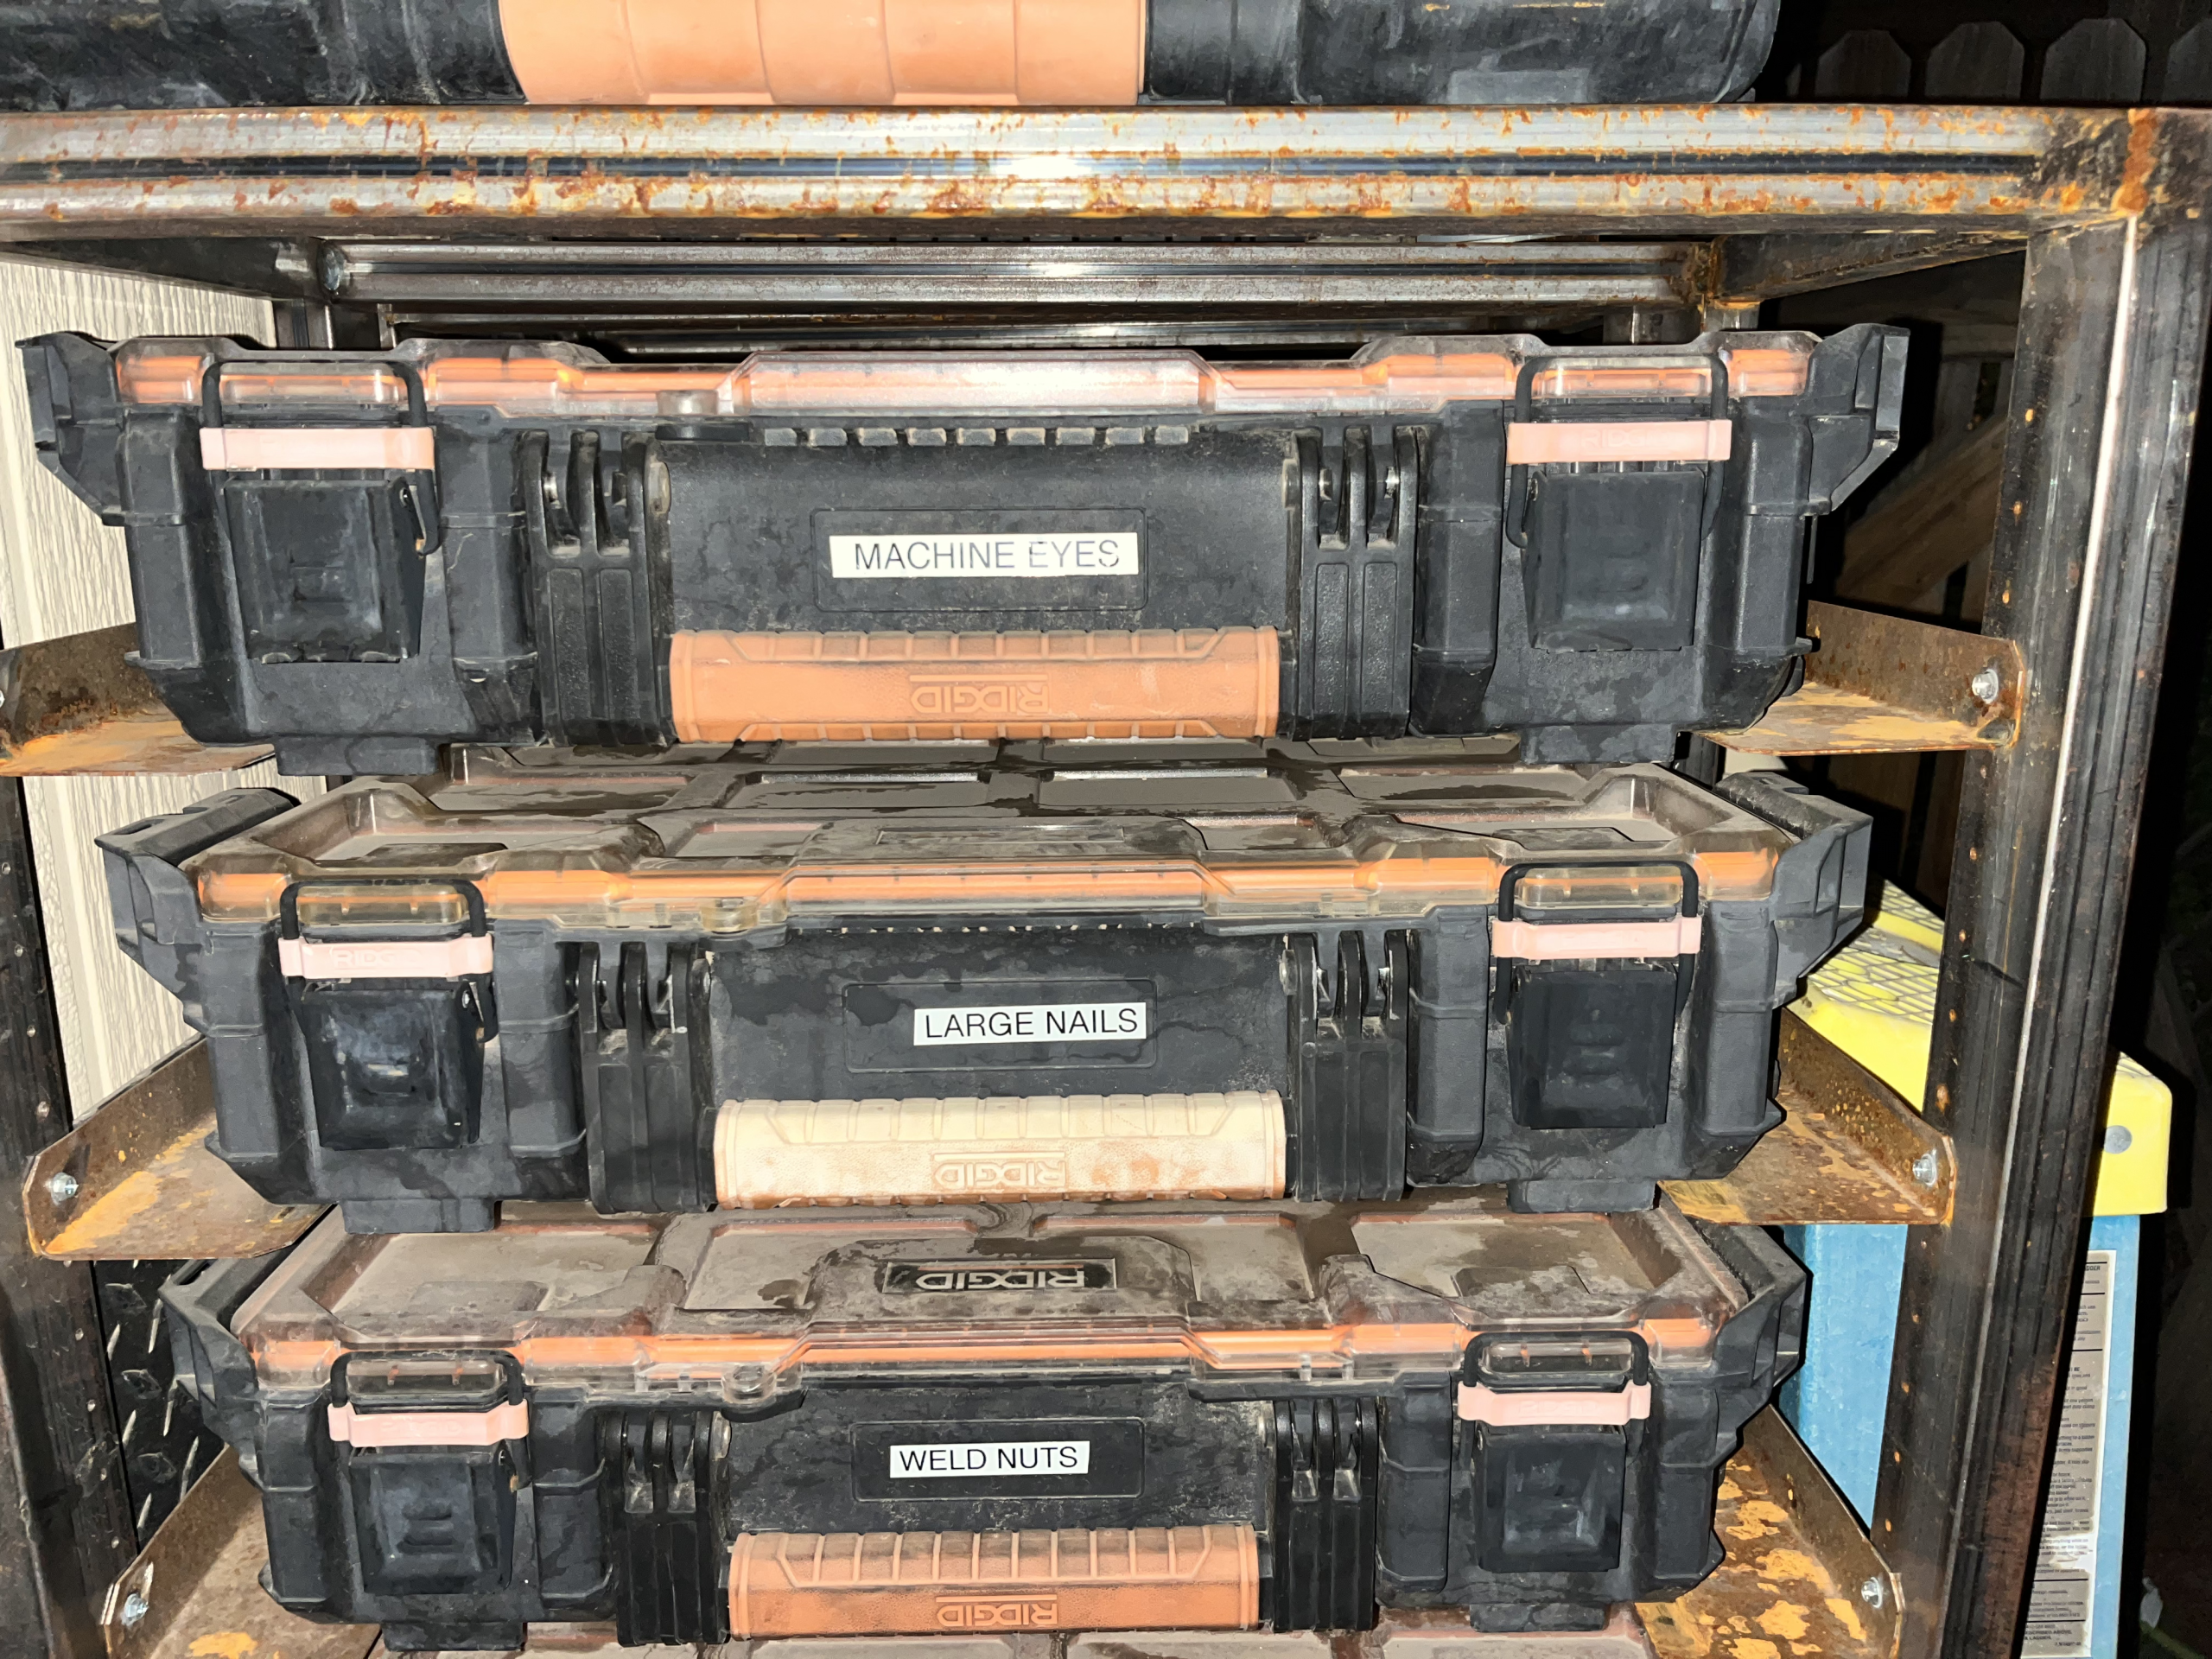
The Arizona sun was beating up the containers, and the 16g brackets had not been well made and were sagging on some of the heavier boxes, so I decided to improve on what I had.
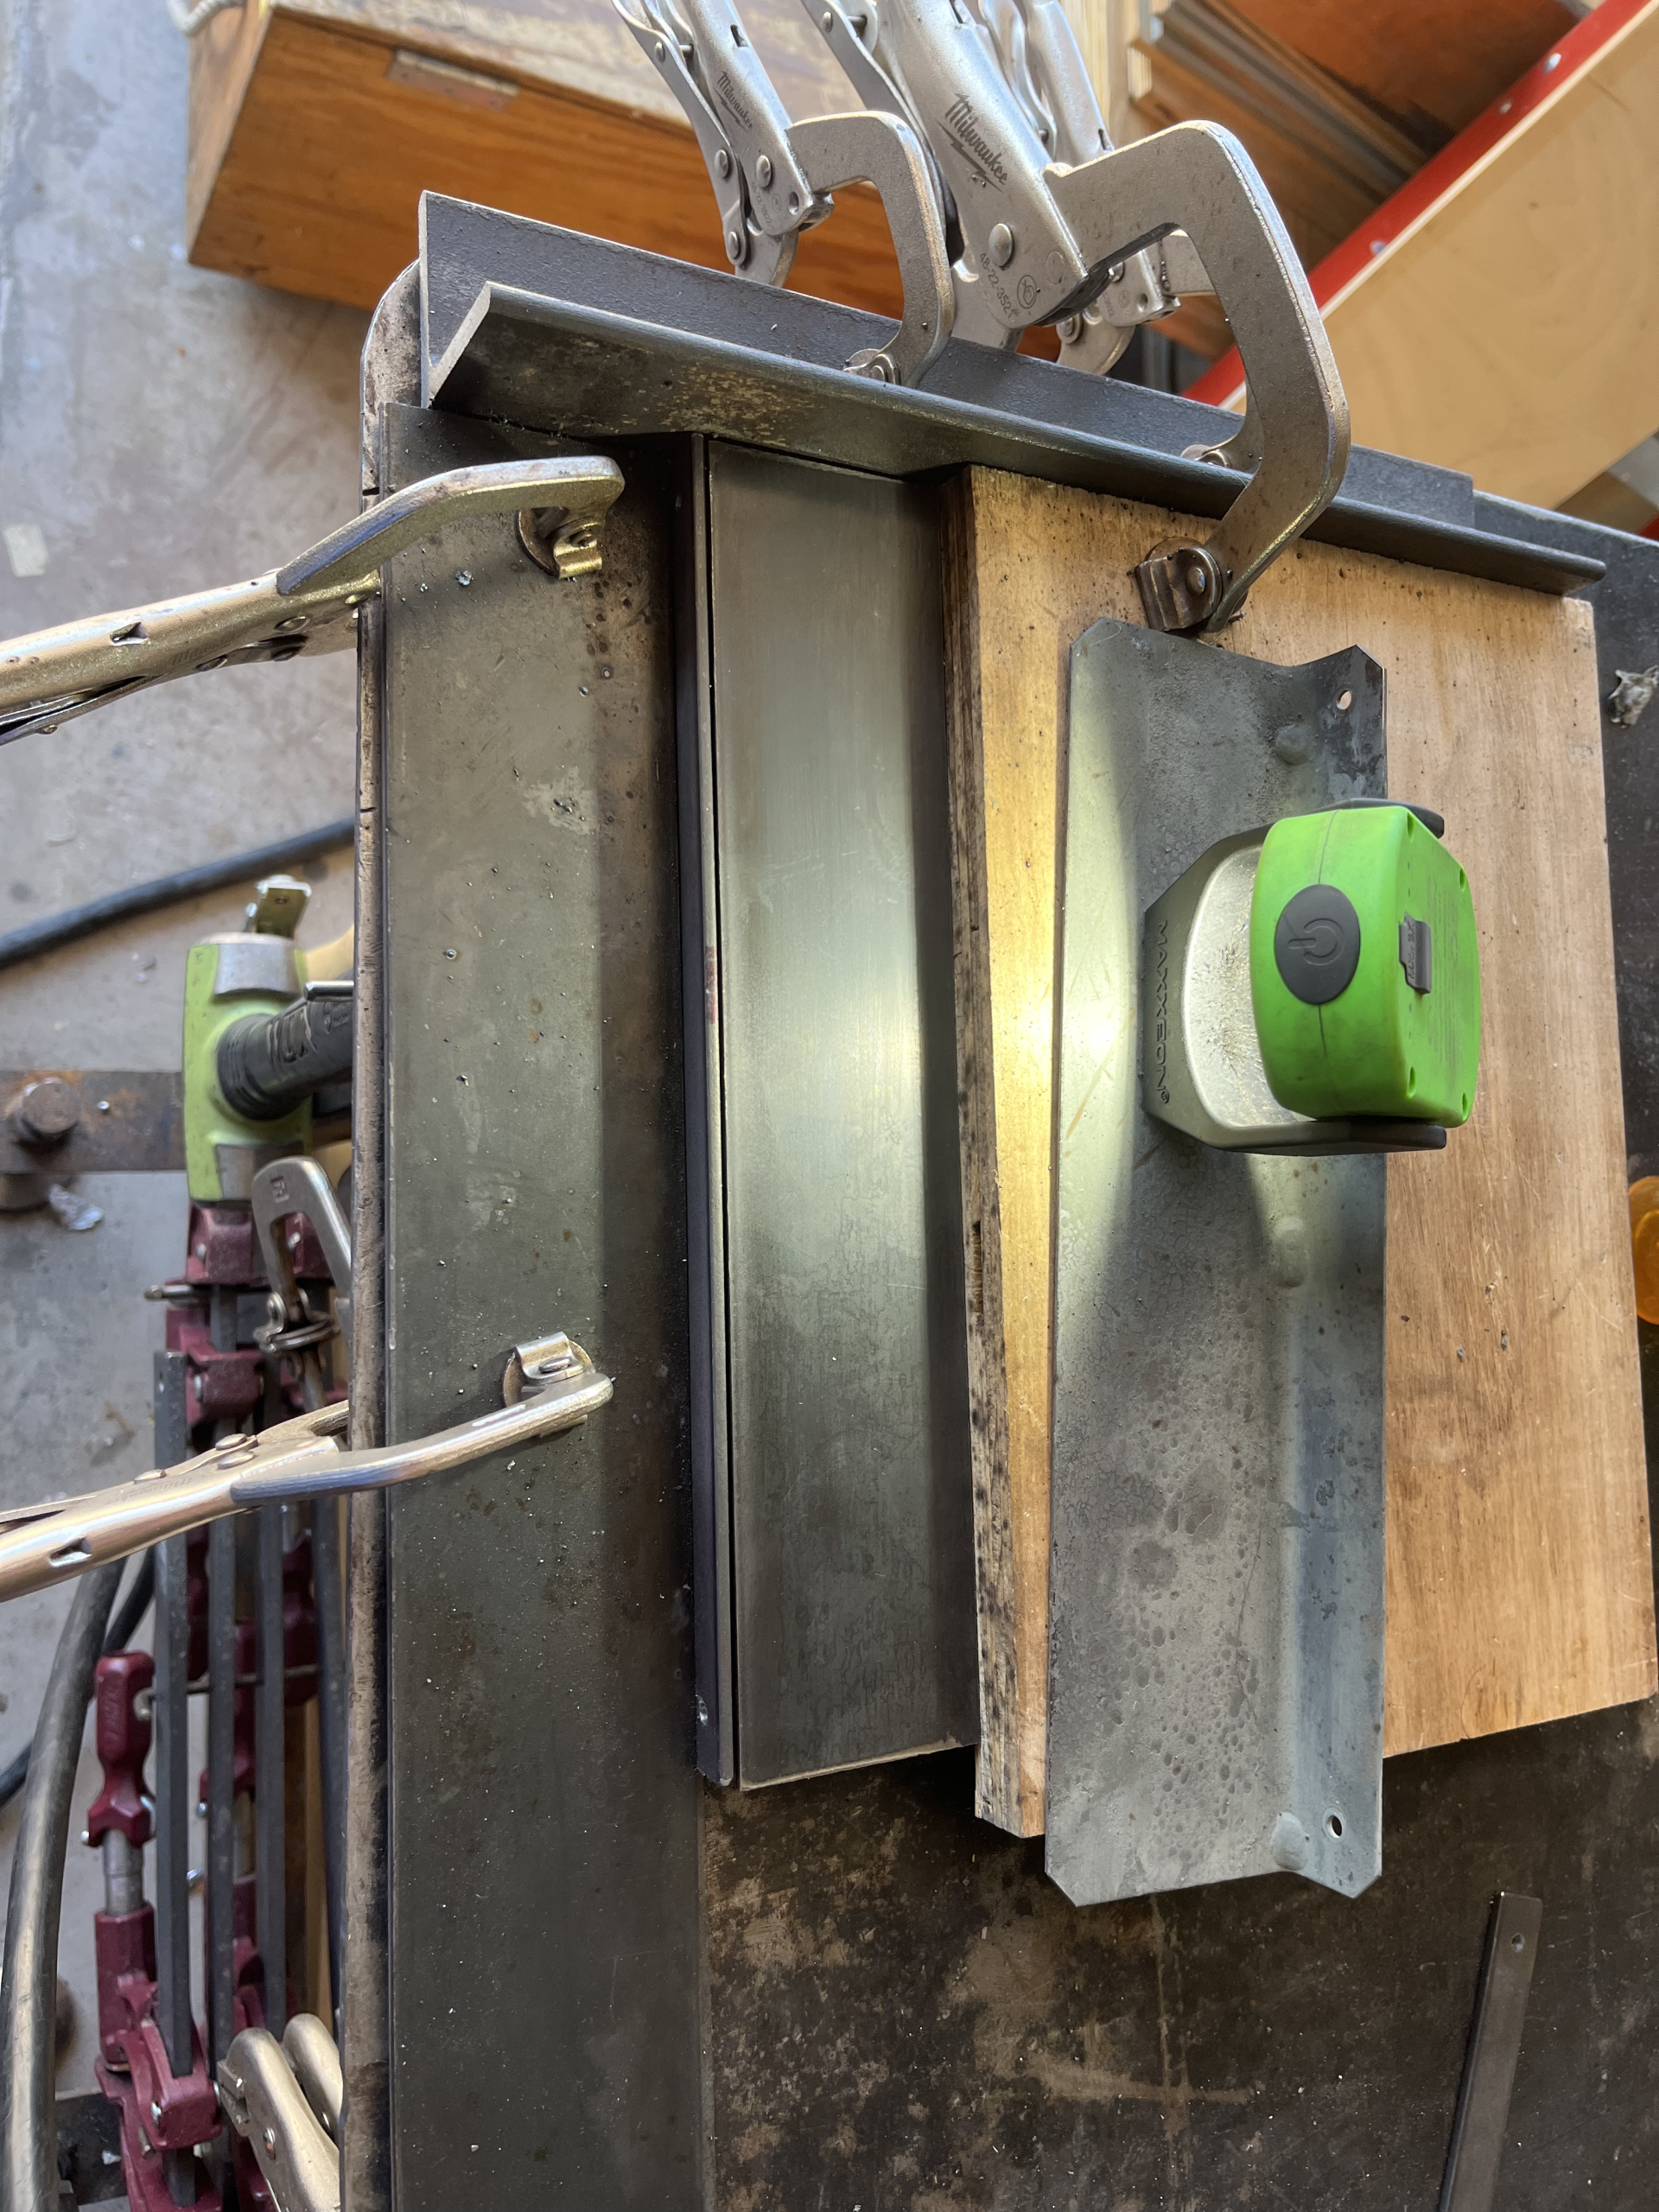
I got some 1/8″x2 1/2″ flat bar and some 1/8″x3/4″ flat bar and welded them up to form a much more secure bracket. Then I added some 20 gauge sheet metal top and side panels to the frames to help slow the UV damage to the cases.
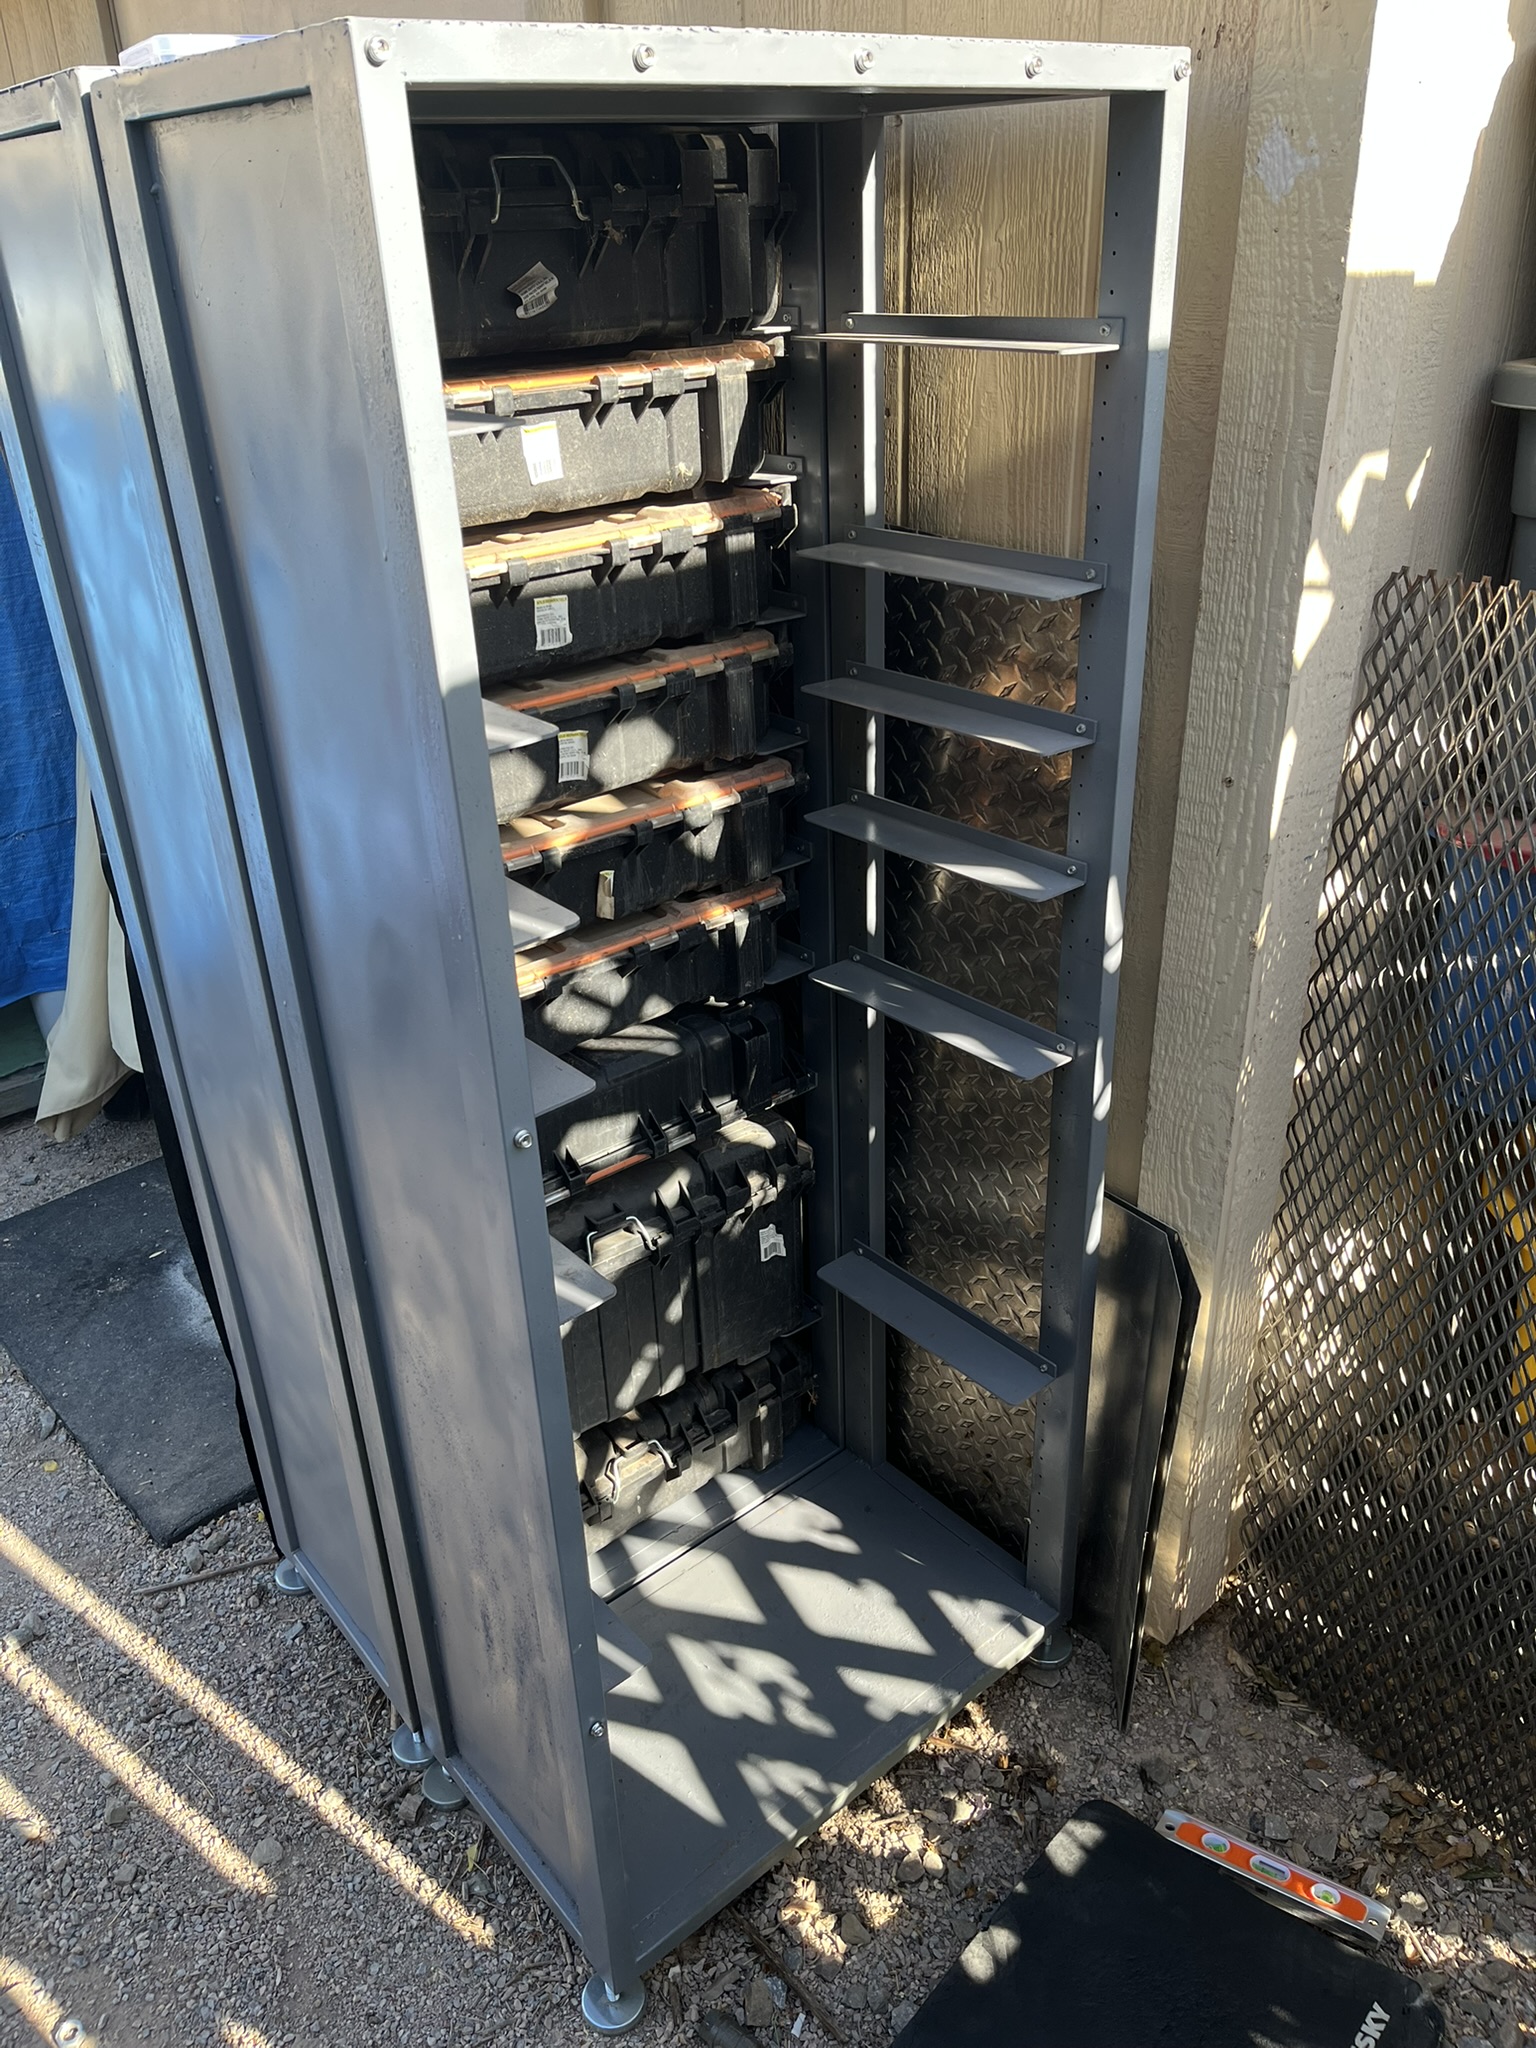
I was going to make actual doors, but I realized that I really don’t have room here to swing the doors open. I opted instead to put screw based snaps into the frame. Then I could take an inexpensive 12 mil tarp and put matching snaps in it, and have a cover that would protect the boxes from the worst of the UV damage.
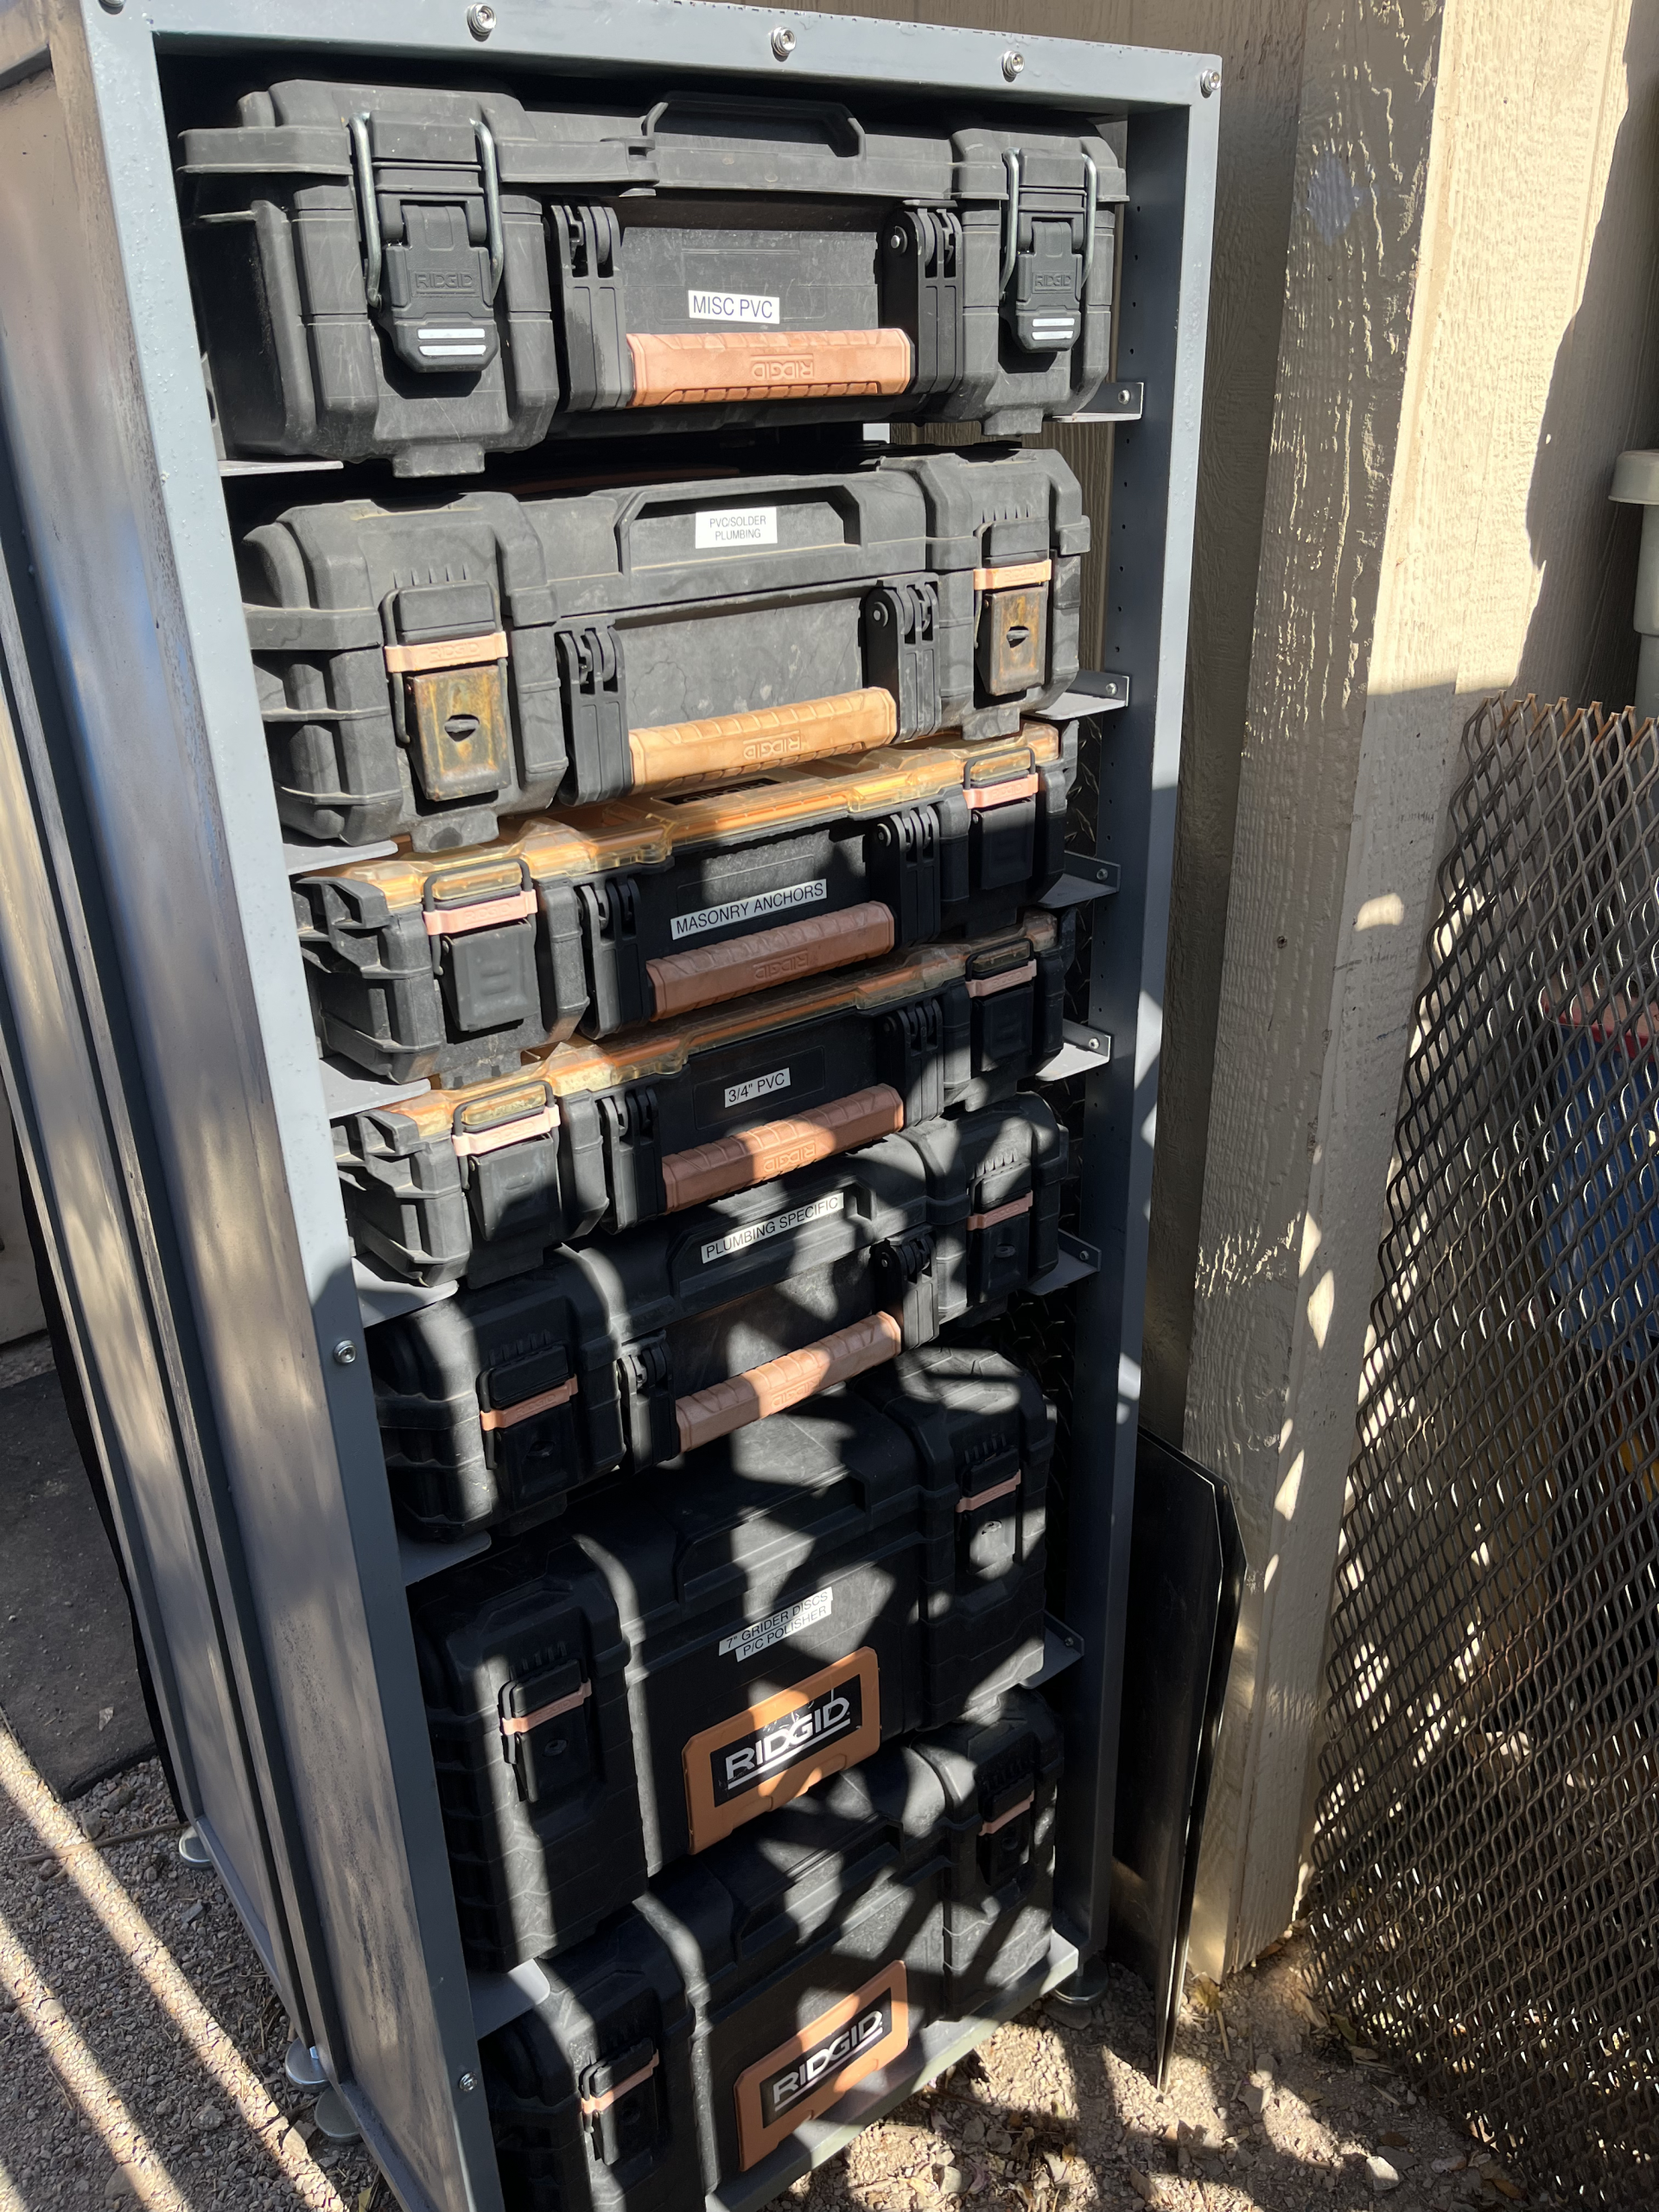
I gave everything a coat of primer, and then 2 coats of Rustoleum Enamel paint – Light Machine Grey.
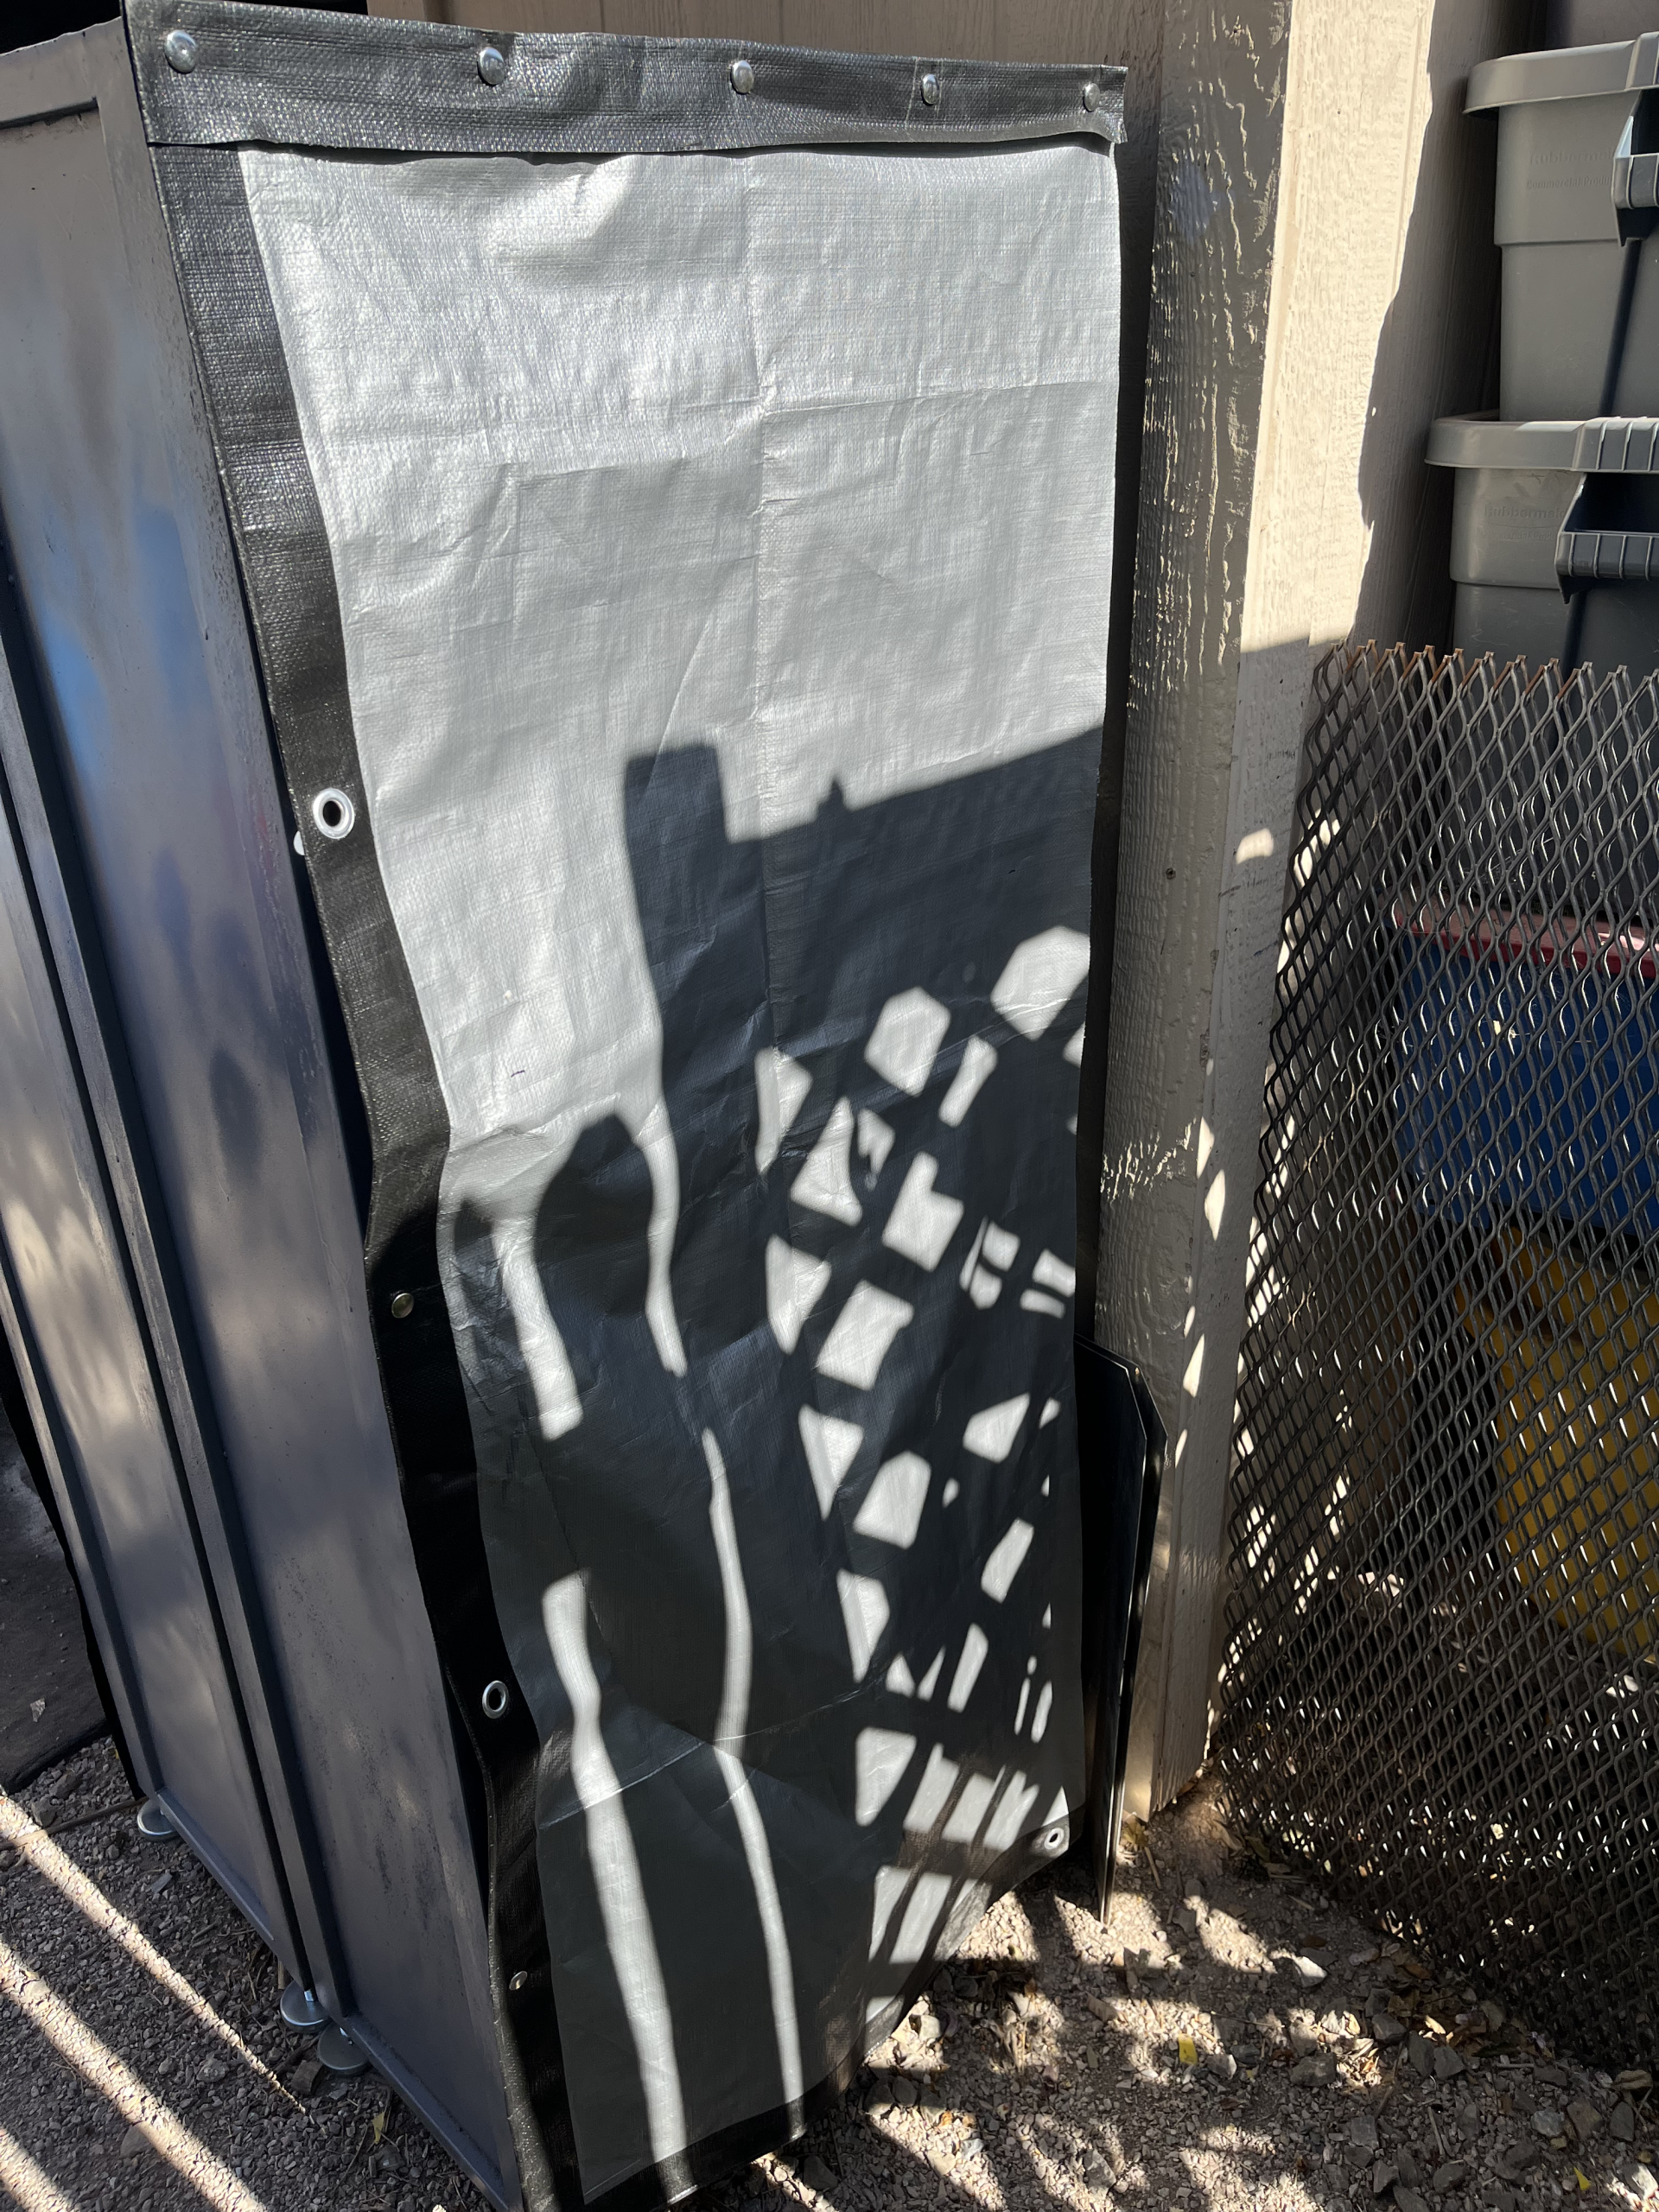
This doesn’t look as pretty, and certainly isn’t as durable as a metal door, but it is much better than nothing and doesn’t block my access. I have used these tarps in other places and can usually get 2-3 years use out of one. I consider it a consumable. I used an inexpensive snap kit from Amazon to set the snaps in the tarp. It has been up a few months and everything has survived the first monsoon season, so I hope it will work well.